Chapter 3 - Deploying Opnsense Firewall
Deploying OPNsense as a virtual firewall to secure lab network traffic.
Posted 
By Avinash Mathew Varghese , Angela Thomas
2 min read
Chapter 3 - Deploying Opnsense Firewall
Introduction
In this chapter, we will guide you through deploying OPNsense as a virtual firewall in Proxmox. OPNsense will serve as the central point of control for our lab network, managing traffic between the WAN and LAN while providing essential security features like NAT and firewall rules.
Prerequisites
- Proxmox is installed and accessible.
- Network bridges (
vmbr0for WAN andvmbr1for LAN) already created.
Downloading and verifying the OPNsense ISO
- Go to the official OPNsense website.
- Choose the correct architecture (usually AMD64) and installer type (DVD ISO).
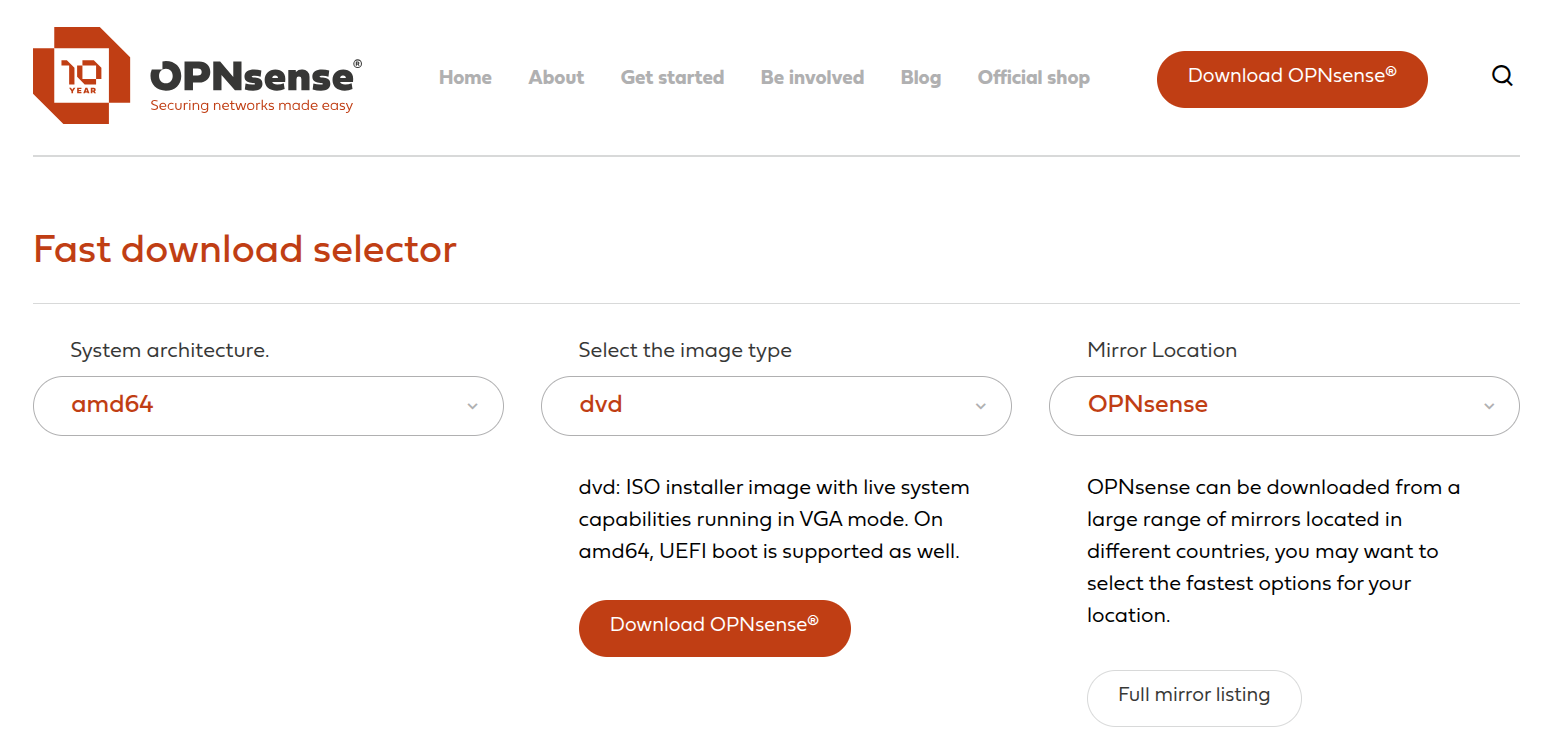
- Save the ISO file to your local machine.
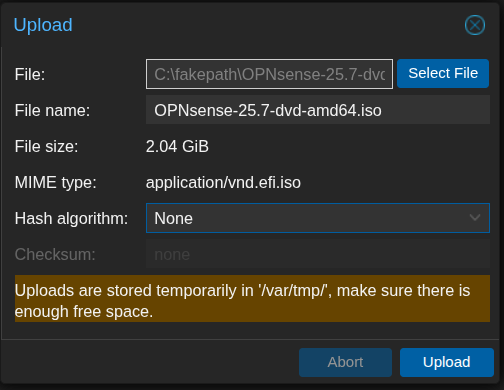
- Before deploying OPNsense in Proxmox, it’s important to ensure the ISO file is authentic and hasn’t been tampered with.
- Verify the ISO using the SHA256 checksum:

- Compare the output with the SHA256 checksum provided on the OPNsense download page. They must match exactly.

- Once verified, the ISO is safe to upload to Proxmox for VM creation.
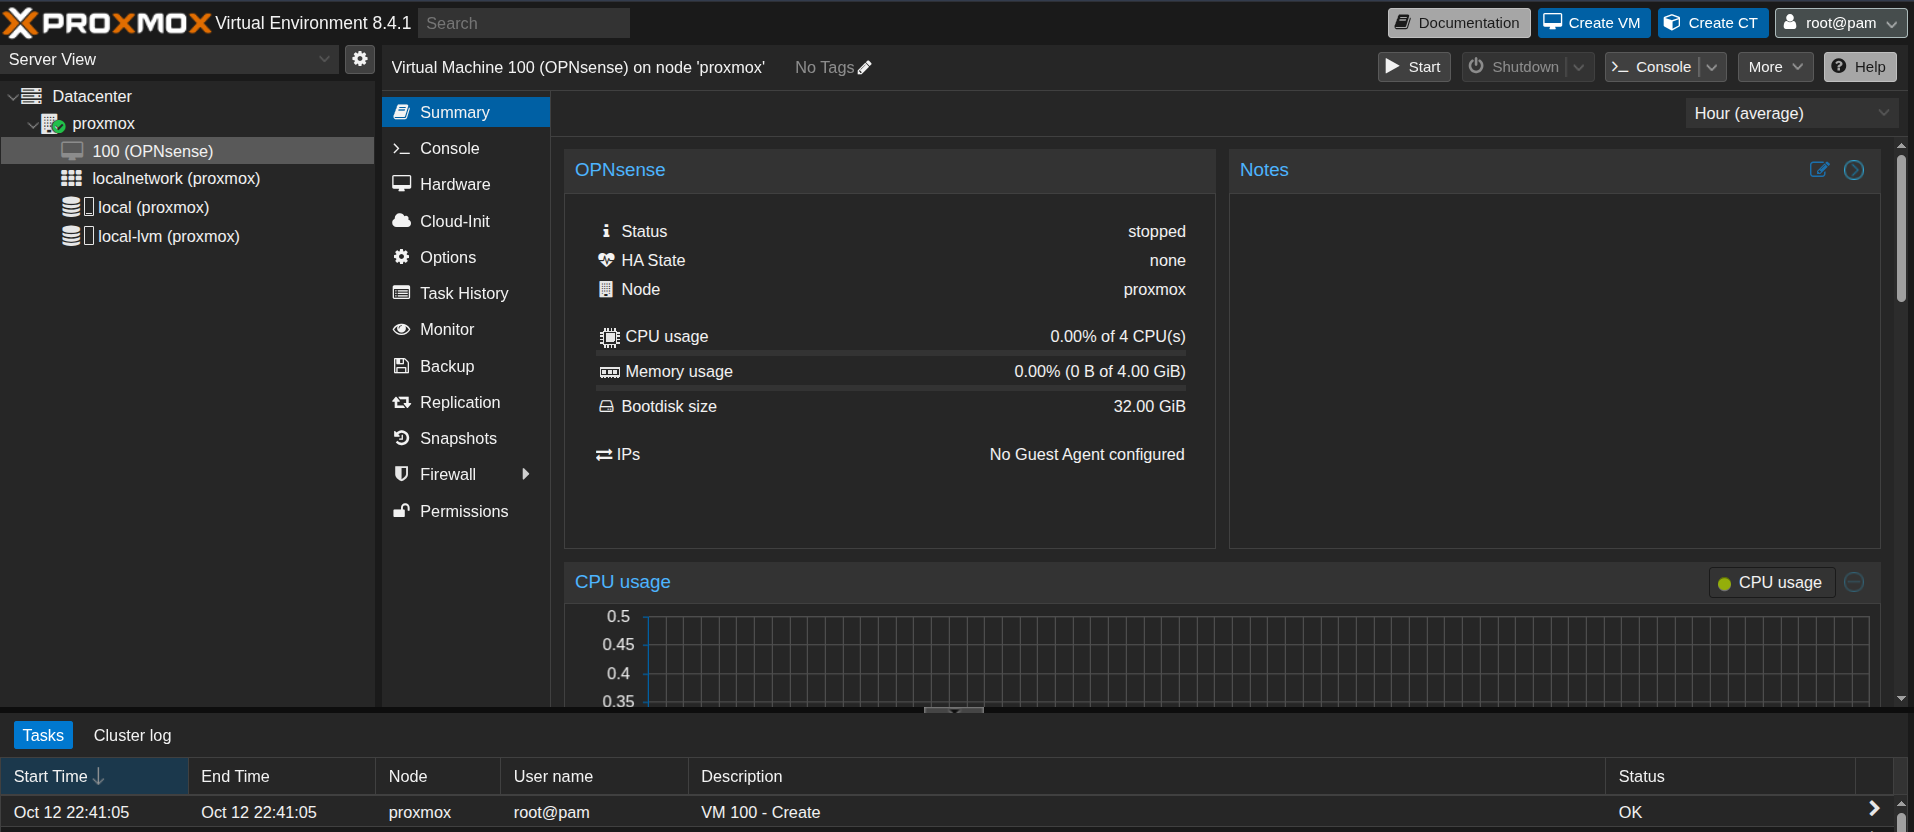
Creating the OPNsense VM
- Log in to the Proxmox web interface.
- Go to the Proxmox storage where ISO images are kept and upload the verified OPNsense ISO.
- Click “Create VM” and give it a name (e.g., OPNsense).

- Under the “OS” tab, select “Use CD/DVD disc image file (ISO)” and choose the uploaded OPNsense ISO.
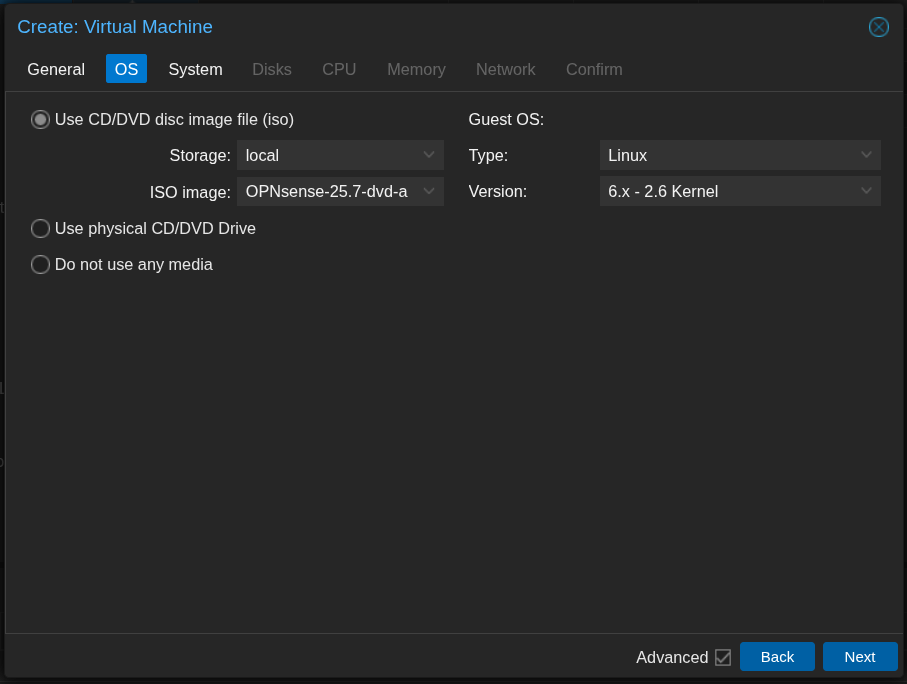
- Choose the default system settings.

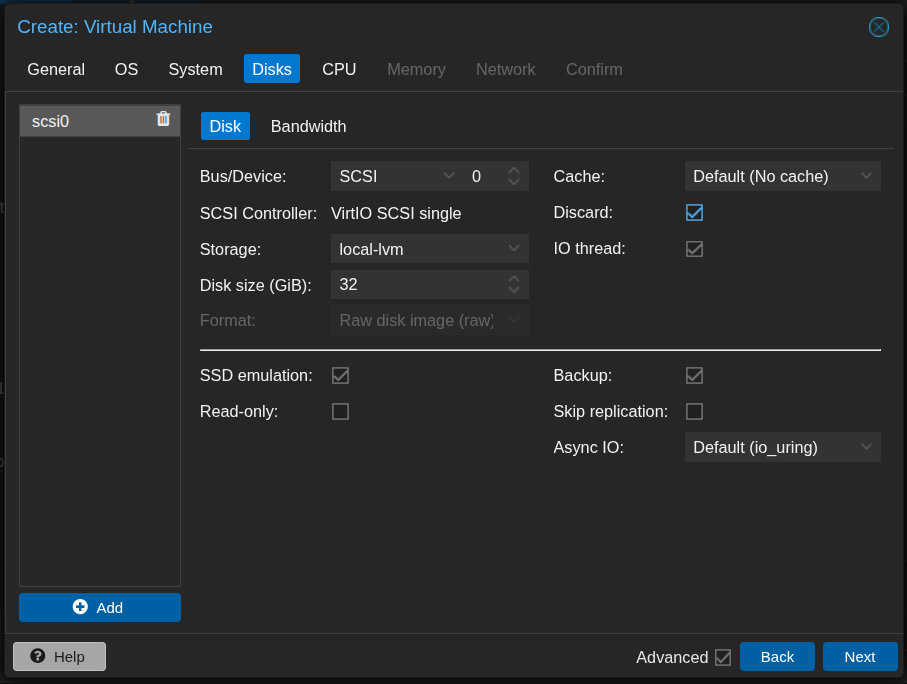
- Add a disk for installation and set the size to 32 GB.
- Assign 4 CPU cores.
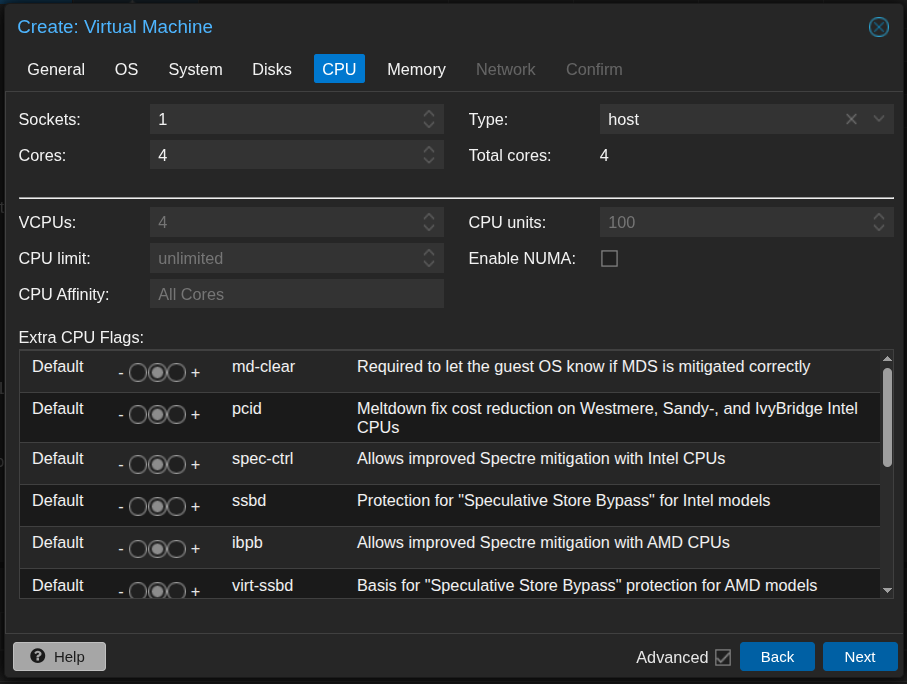
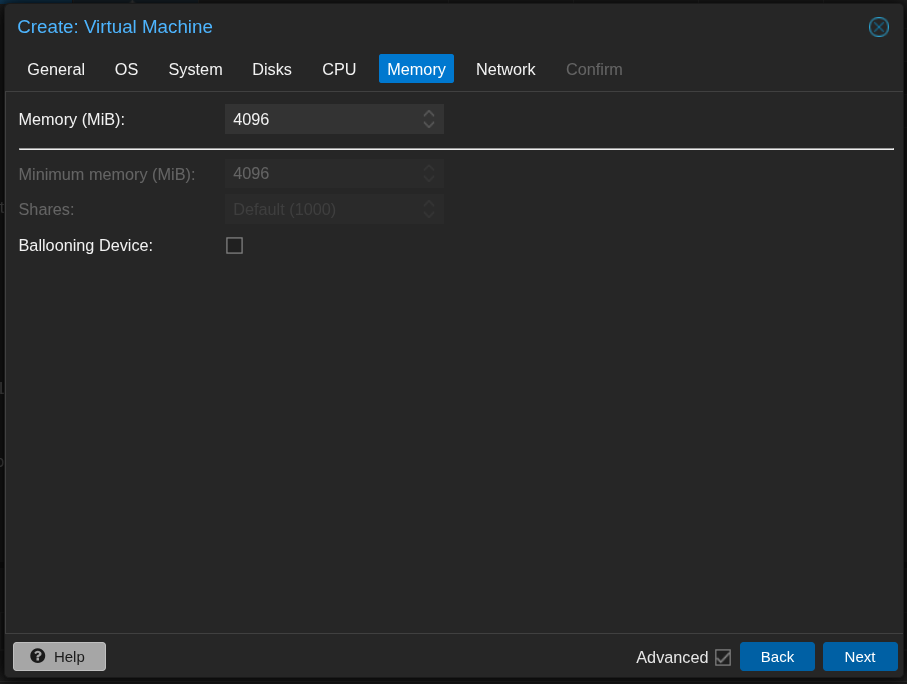
- Assign memory of 4096 MB (4 GB).
- Use the default network interface. This will be changed later.

- Review and save the configurations.
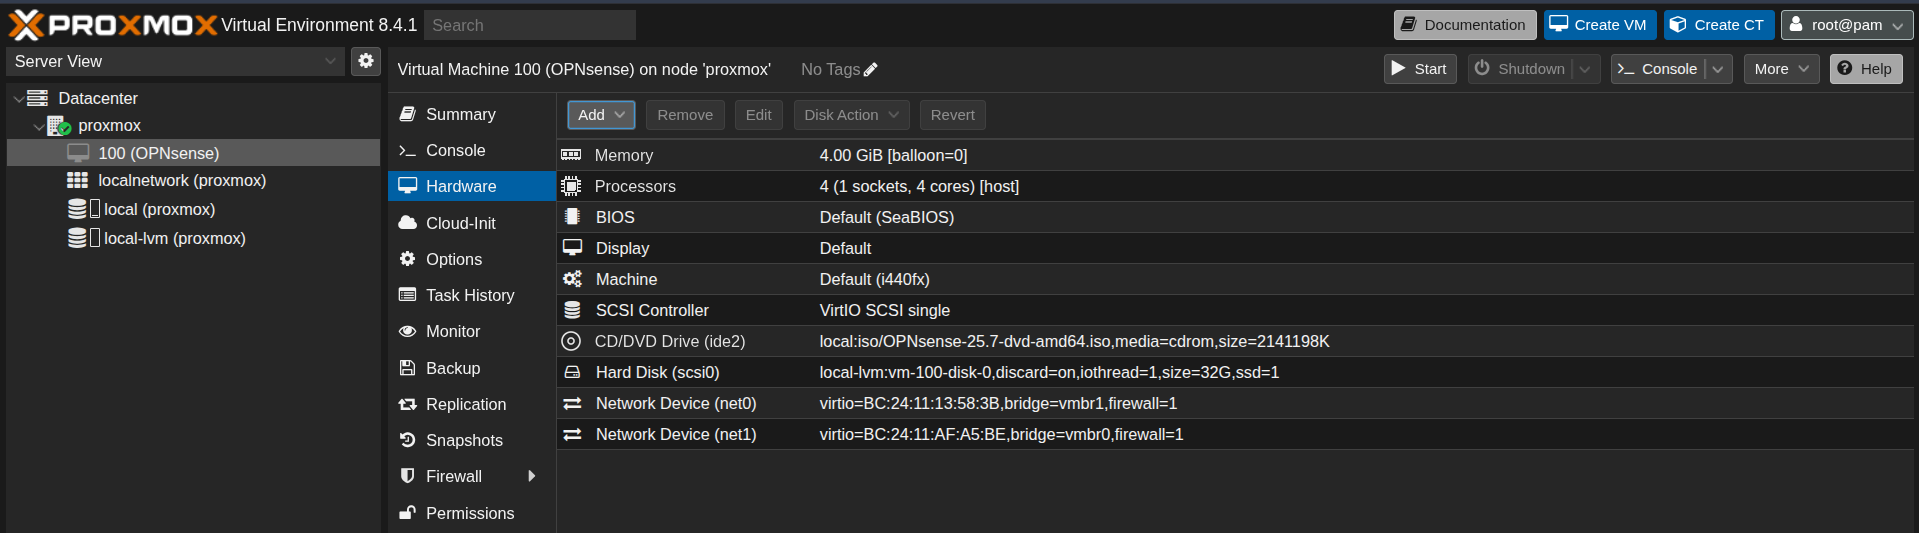
- Next, we need to change the existing network interface and add a new one. Under “Hardware,” double-click the network interface and change it from
vmbr0tovmbr1. This is the network device that will be connected to the LAN configured in Proxmox. (Refer to the previous chapter for more details.)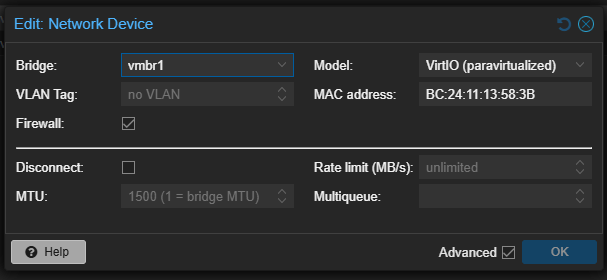
- Add a new network device by clicking “Add” → “Network Device” and choose the interface as
vmbr0. This network interface will serve as the WAN of OPNsense and is attached to the NIC of Proxmox.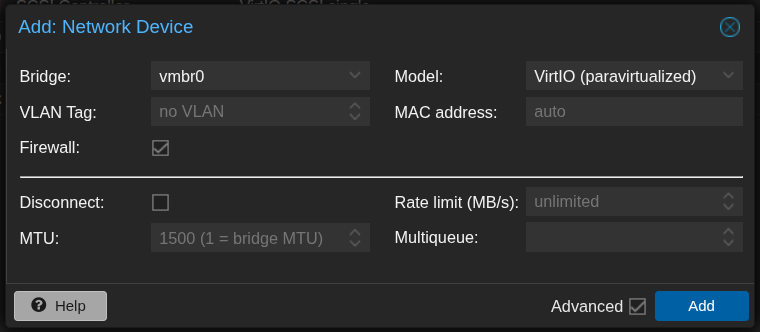
- This is the final network configuration.
- Before booting up the OPNsense virtual machine, use the MAC address of the WAN interface (
vmbr0) to configure a DHCP reservation on your home router. Assign it the static IP address 192.168.20.102. This ensures that the OPNsense machine retains the same IP address even after restarts, allowing consistent access to the web interface in the future.
Initial OPNsense Setup
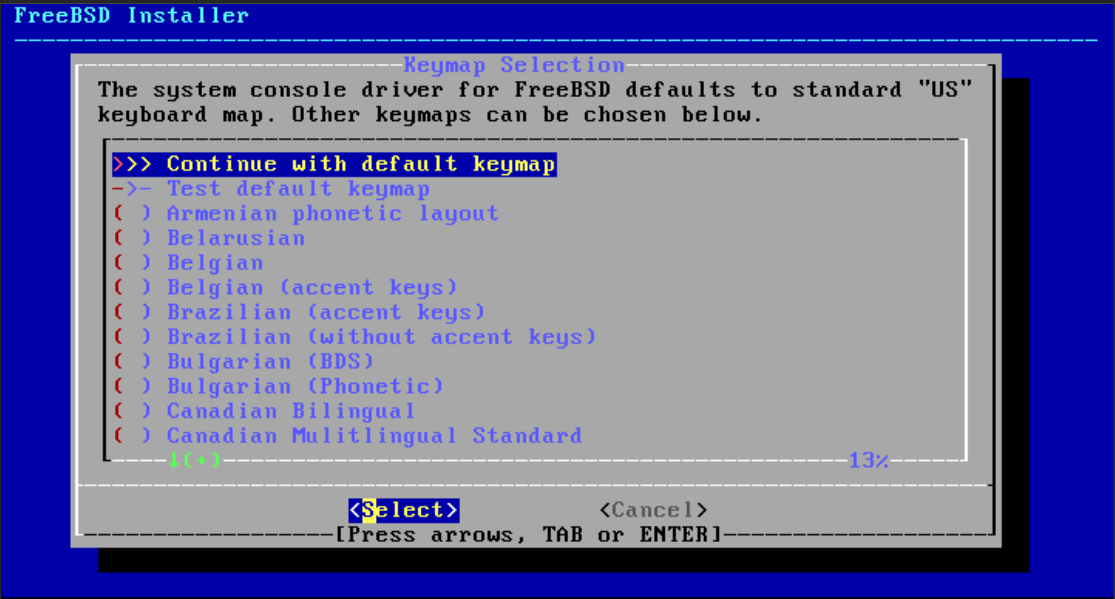
- Once the OPNsense VM is launched, the FreeBSD installer screen will appear. Choose “Continue with default keymap.”
- In the OPNsense installer, choose “Install (UFS).”

- Under UFS configuration, select the disk
da0 <QEMU QEMU Harddisk 25>(32 GB).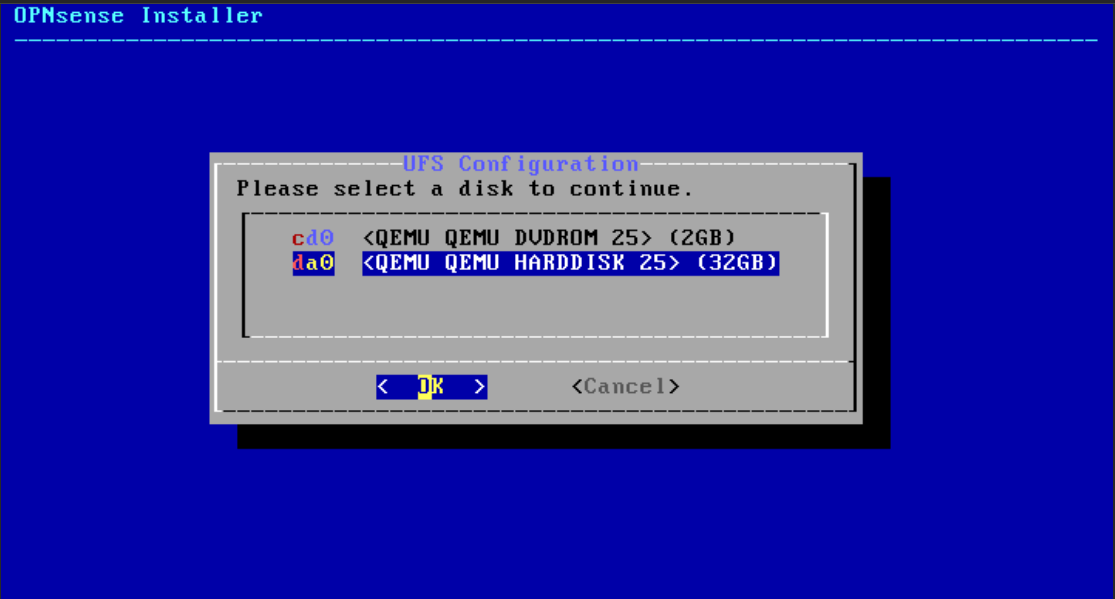
- Choose “Yes” when prompted to continue with a recommended swap partition of 8 GB.

- Choose “Yes” to destroy the current contents of the
da0disk.
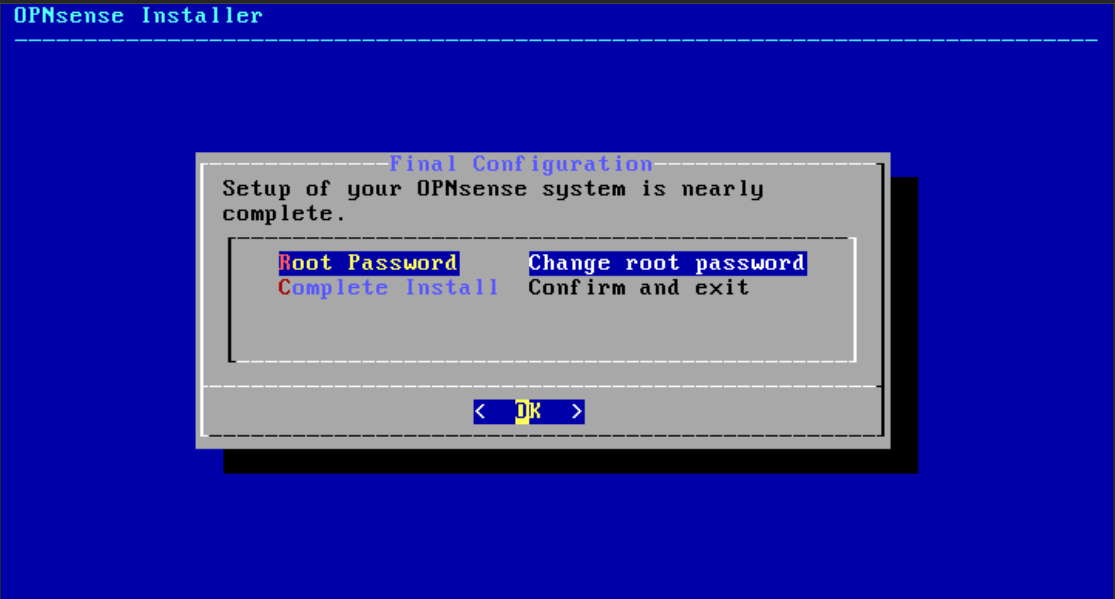
- Select the option to change the root password to the desired one.
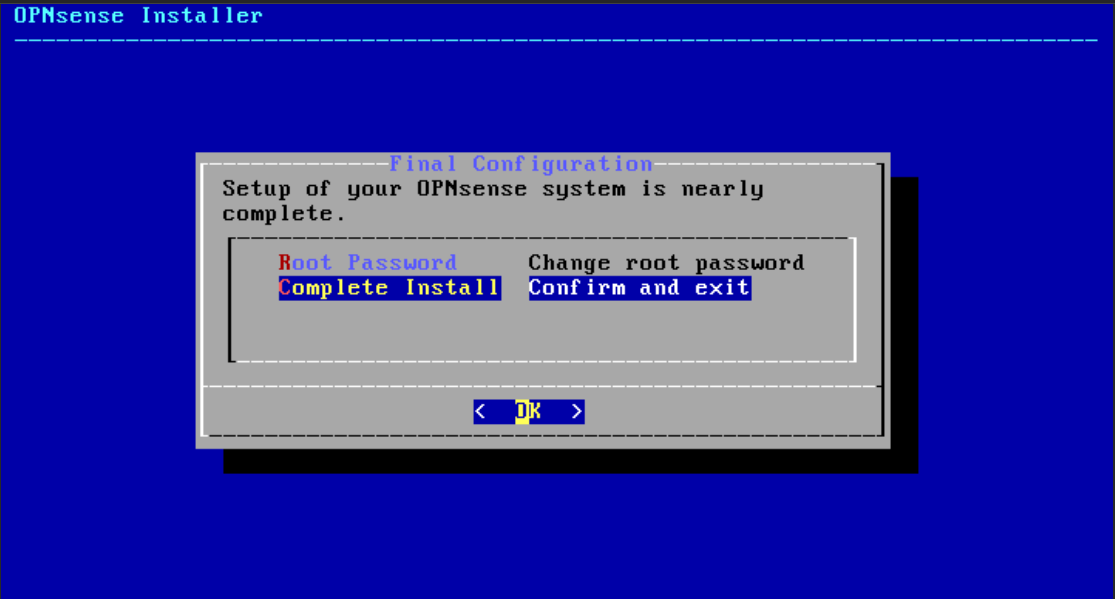
- Complete the installation process.
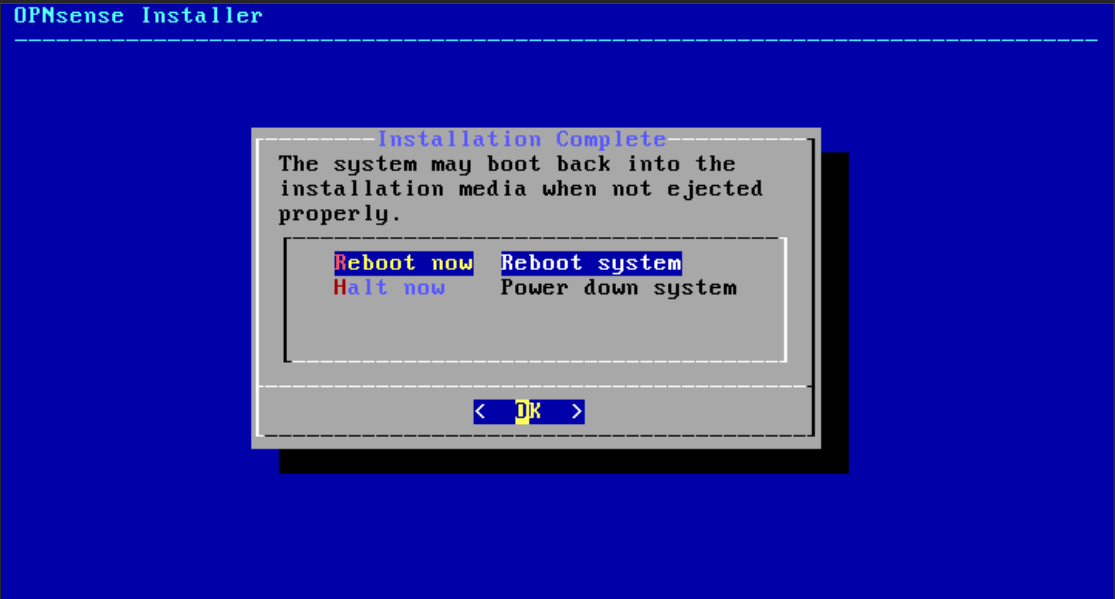
- Reboot the system once installation is finished.
- Below is the output after rebooting the system.
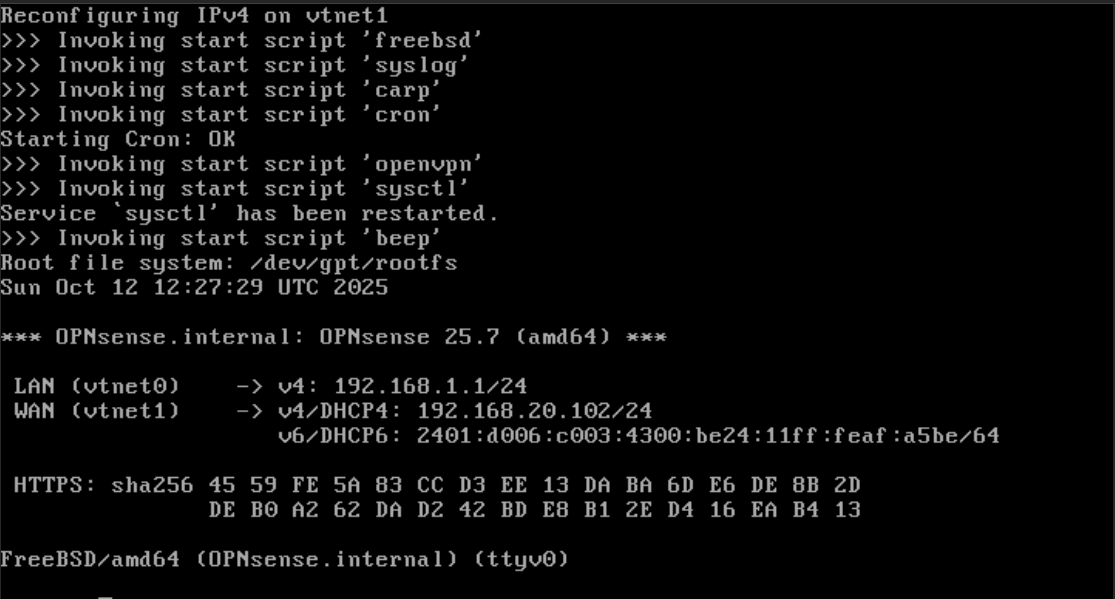 The LAN interface is set to 192.168.1.1/24 by default. The WAN interface receives the IP address 192.168.20.102/24 from the DHCP server at the home router.
Up Next
Next, we’ll deploy the Debian Internal Admin VM and verify access to the OPNsense web interface from the internal network.
This post is licensed under CC BY 4.0 by the author.