Chapter 4 - Installing Debian in Proxmox
Setting up a Debian VM as the internal admin endpoint.

Introduction
In this chapter, we’ll set up a Debian virtual machine that acts as the heart of our internal network management. This VM will serve as the internal admin endpoint in Proxmox, providing a secure and dedicated space to access and manage OPNsense and other internal services through the LAN.
Downloading the Debian ISO
Download the latest Debian ISO from the official Debian website.
Creating the Debian VM
- Log in to the Proxmox web interface.
- Go to the Proxmox storage where ISO images are kept and upload the downloaded Debian ISO.
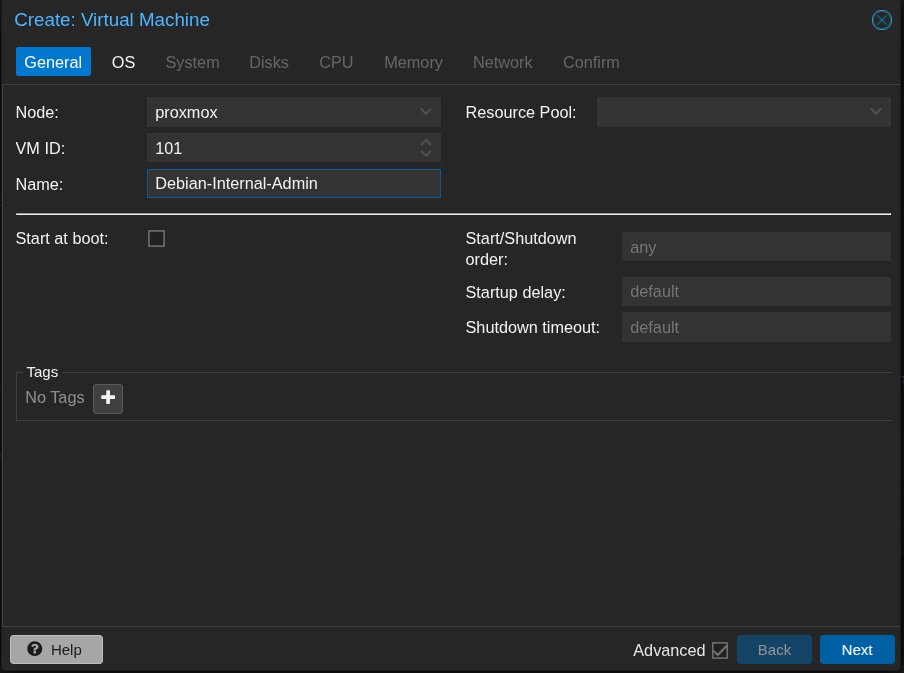
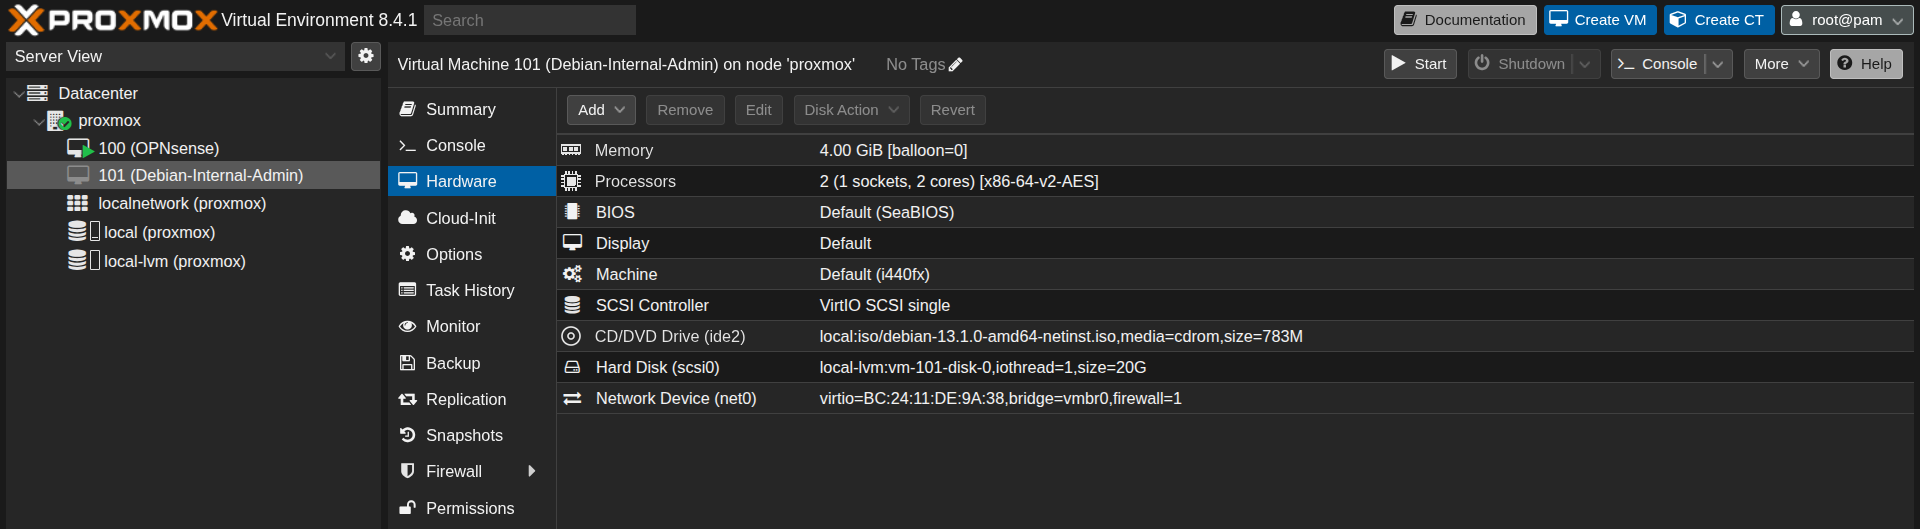
- Click “Create VM” and give it a name (e.g., Debian-Internal-Admin).
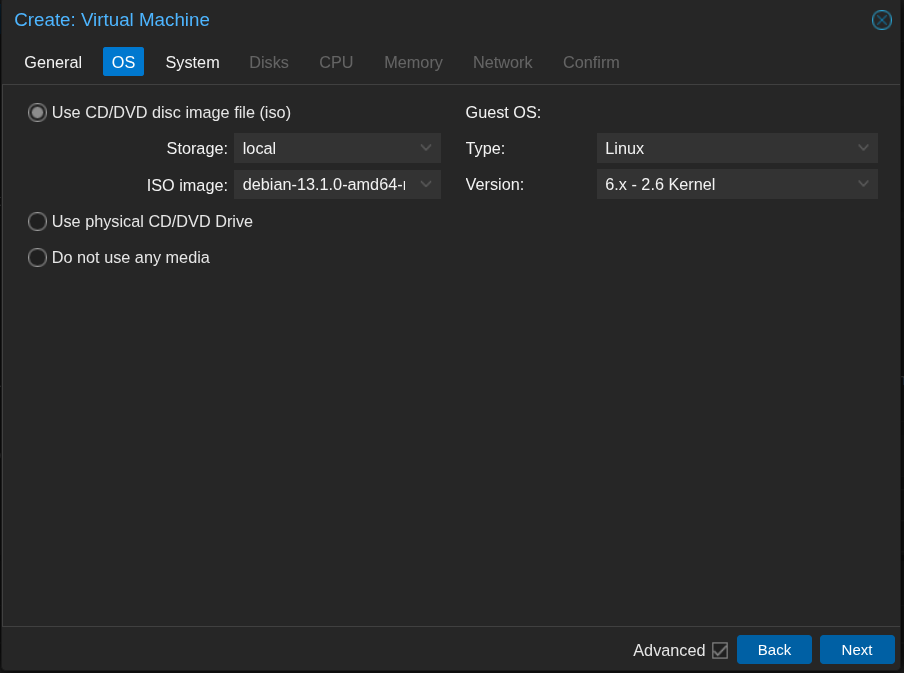
- Under the “OS” tab, select “Use CD/DVD disc image file (ISO)” and choose the uploaded Debian ISO.
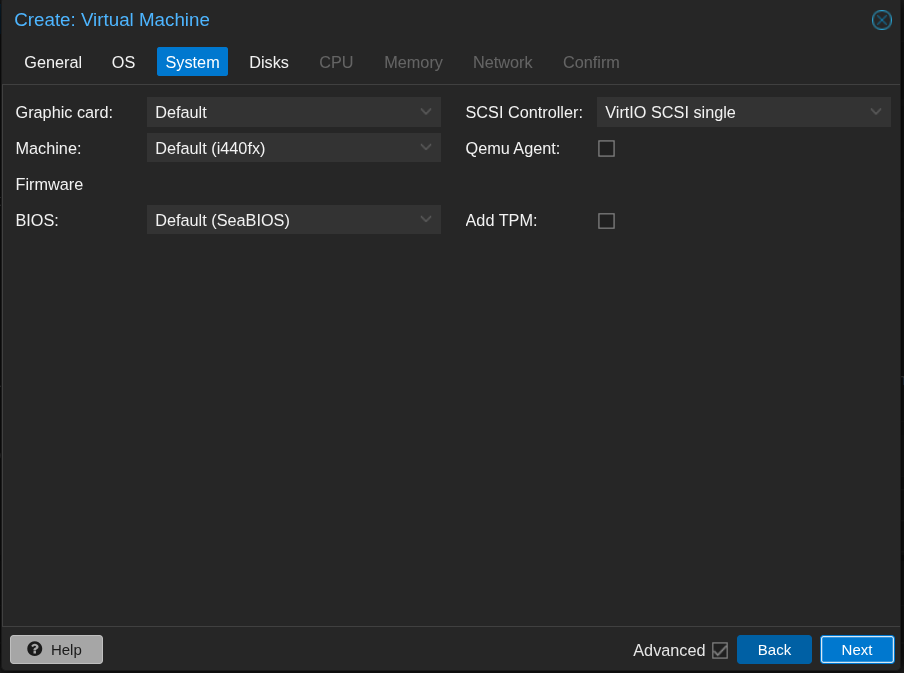
- Choose the default system settings.
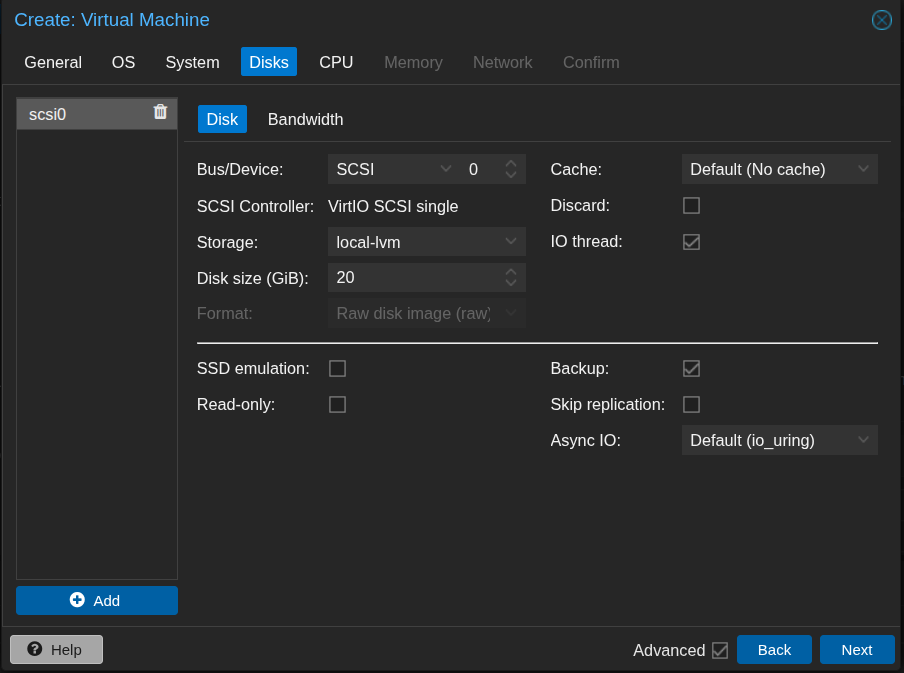
- Add a disk for installation and set the size to 20 GB.
- Assign 2 CPU cores.
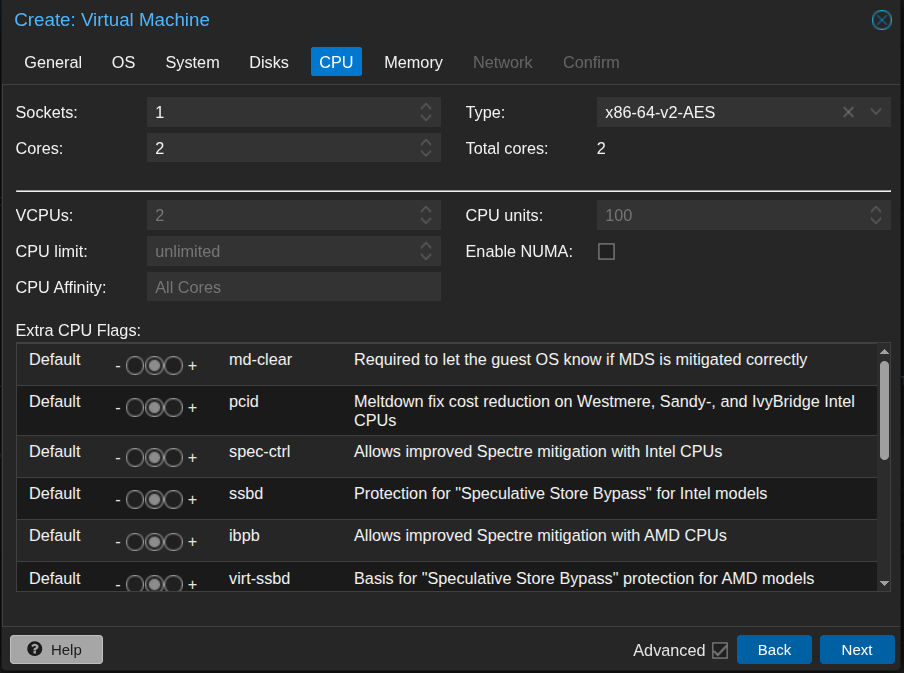
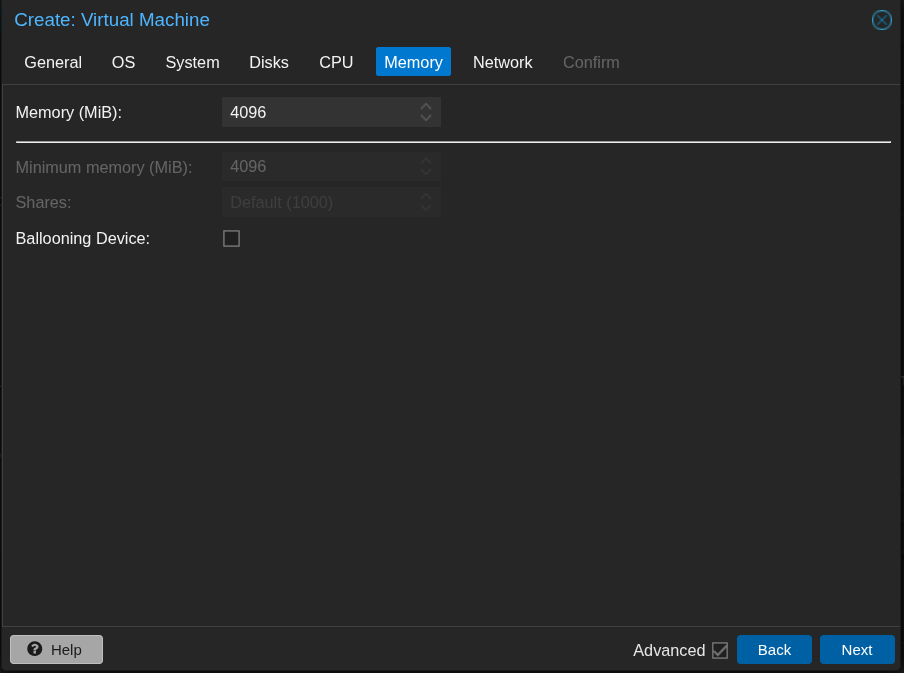
- Assign memory of 4096 MB (4 GB).
- Use the default network interface. This will be changed later.

- Review and save the configurations.
- Next, we need to change the existing network interface and add a new one. Under “Hardware,” double-click the network interface and change it from
vmbr0tovmbr1. This is the network device that will be connected to the LAN of OPNsense.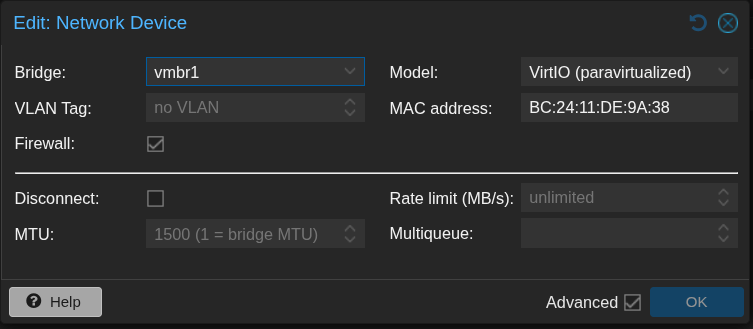
- This is the final network configuration.

- Launch the VM and complete the initial setup of Debian, including creating the user and setting up credentials.
- To test connectivity to OPNsense, open a web browser within the Debian VM and navigate to
192.168.1.1, which is the OPNsense interface address obtained after rebooting. Below is the screenshot for reference: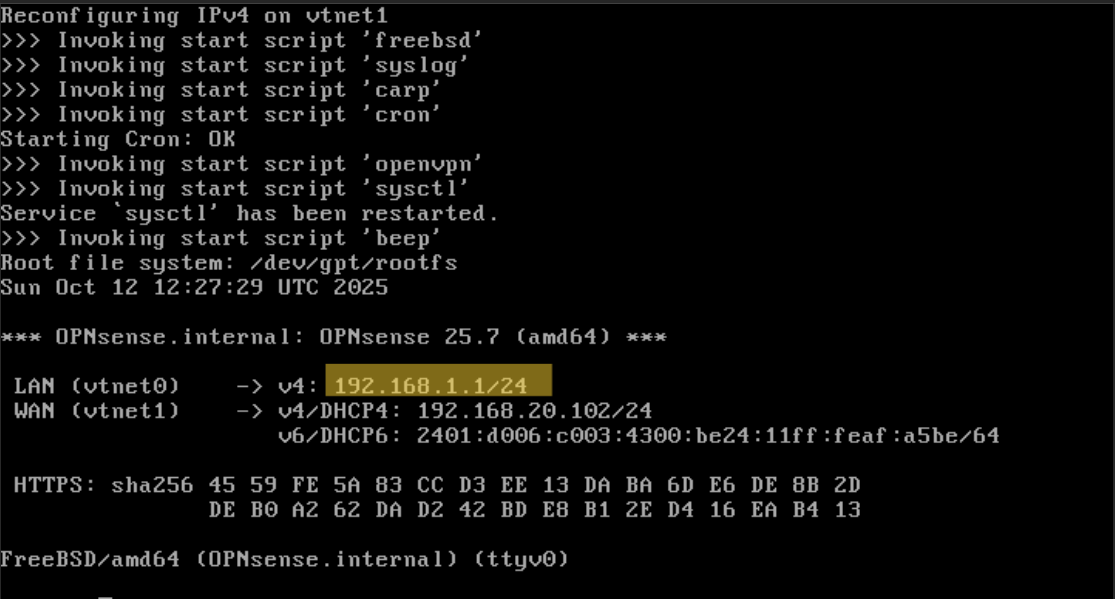
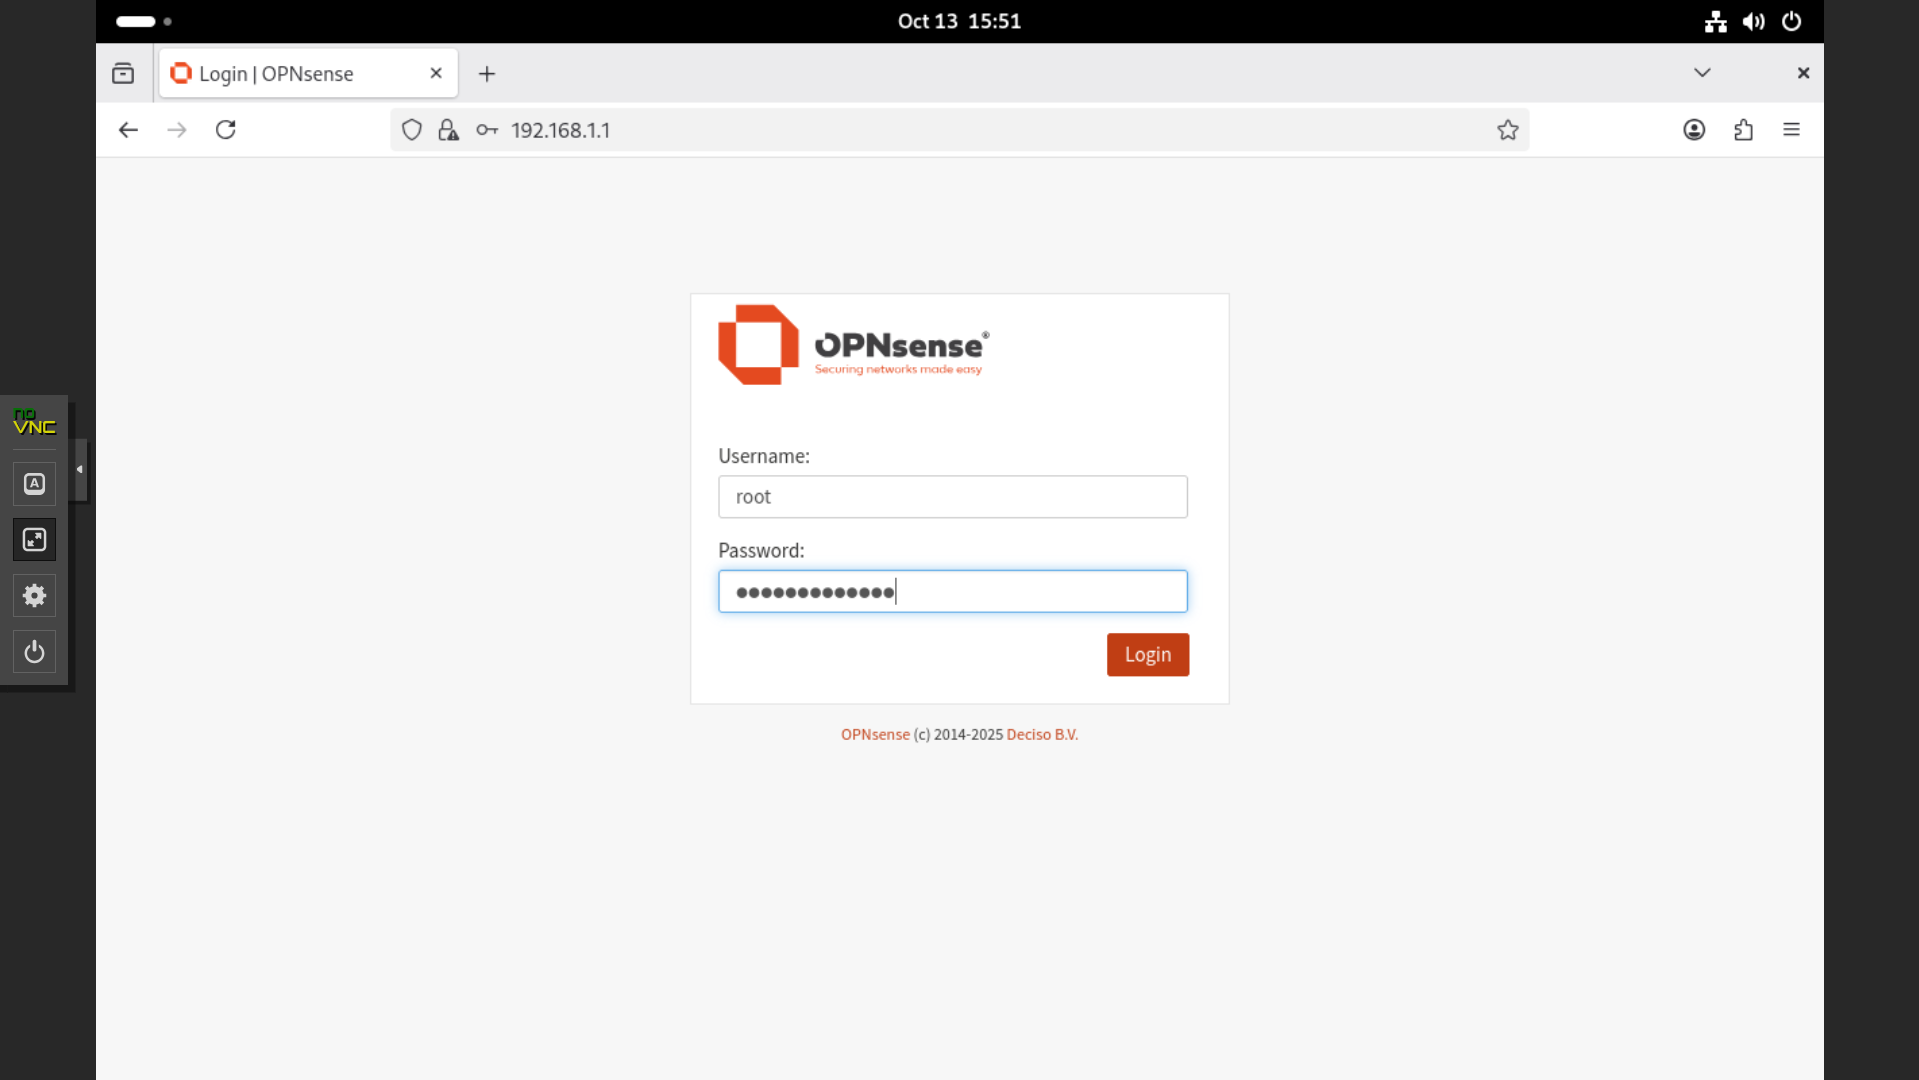
Testing Browser Connectivity
- Open a web browser and navigate to 192.168.1.1. The screenshot below shows that the OPNsense web interface can be accessed from the Debian internal admin VM.
Conclusion
In this chapter, we successfully deployed the Debian internal admin VM and verified that it can access the OPNsense web interface over the internal LAN. This setup establishes a secure endpoint for managing OPNsense and other services within the internal network.
Up Next
In the next chapter, we will complete the initial configuration of OPNsense to ensure the network setup is properly established.