Chapter 7 - Wazuh Deployment
Deploying Wazuh to monitor and collect internal security events.

Introduction
This series covers deploying the free and open-source Wazuh server inside Proxmox. The Wazuh server will monitor security events and collect logs from endpoints within the internal network.
Prerequisites
The Wazuh central components require a 64-bit Linux system to run. For this deployment, we will be installing Ubuntu 24.04 Server. Other supported operating systems are also available on the Wazuh documentation website.
Download the Ubuntu Server ISO image from Ubuntu.
We are using the Ubuntu Server edition instead of the Desktop version because it is lightweight, uses less disk space, and avoids unnecessary graphical packages, making it more efficient for server deployments in Proxmox.
Creating the Wazuh Server VM
- Log in to the Proxmox web interface.
- Go to the Proxmox storage where ISO images are kept and upload the downloaded Ubuntu ISO.
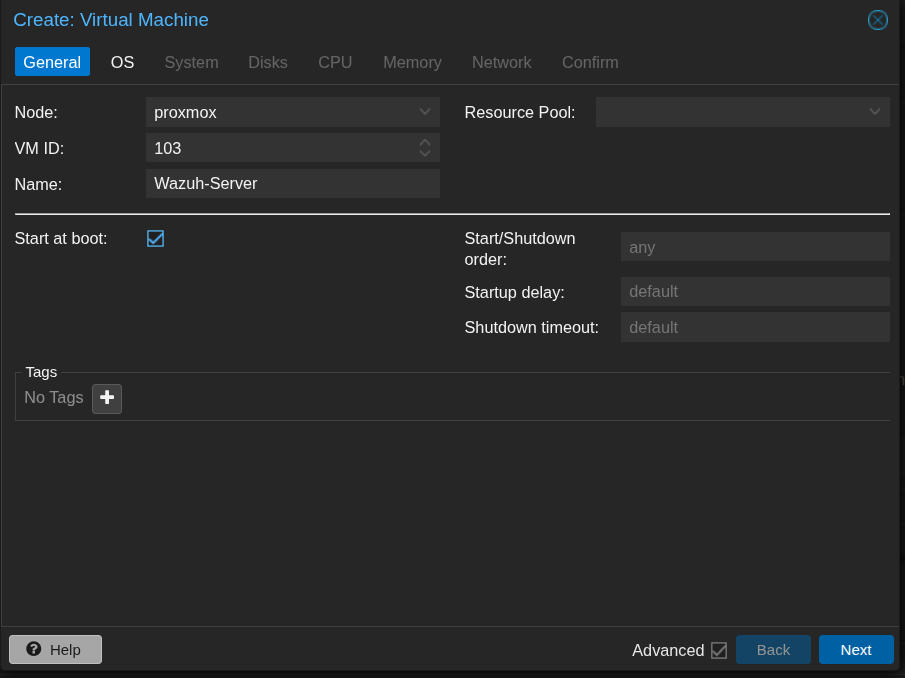
- Click “Create VM” and give it a name (ie. Wazuh-Server).
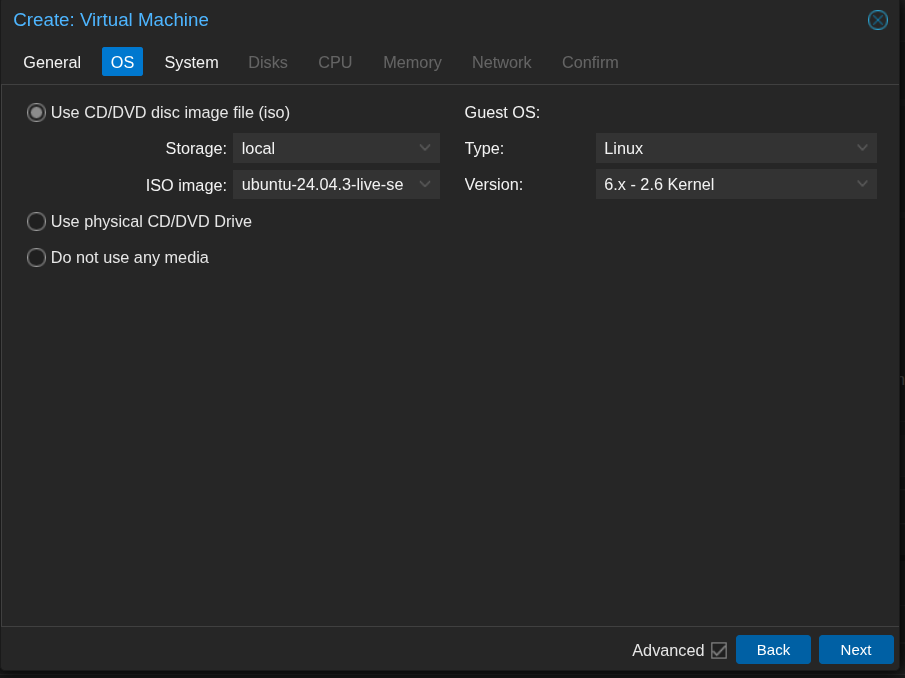
- Under the “OS” tab, select “Use CD/DVD disc image file (ISO)” and choose the uploaded Ubuntu Server ISO.
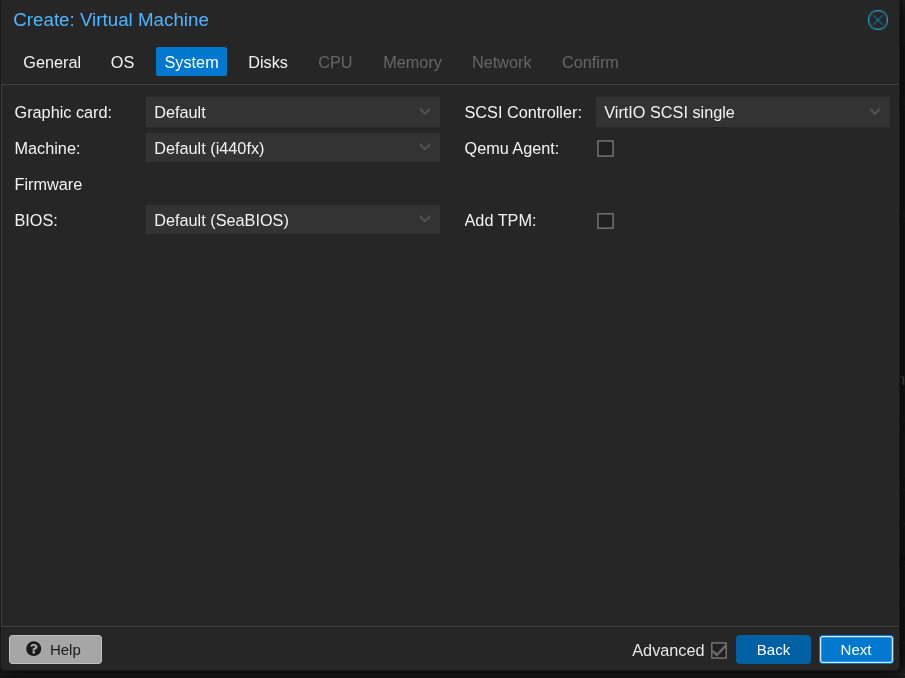
- Choose the default system settings.
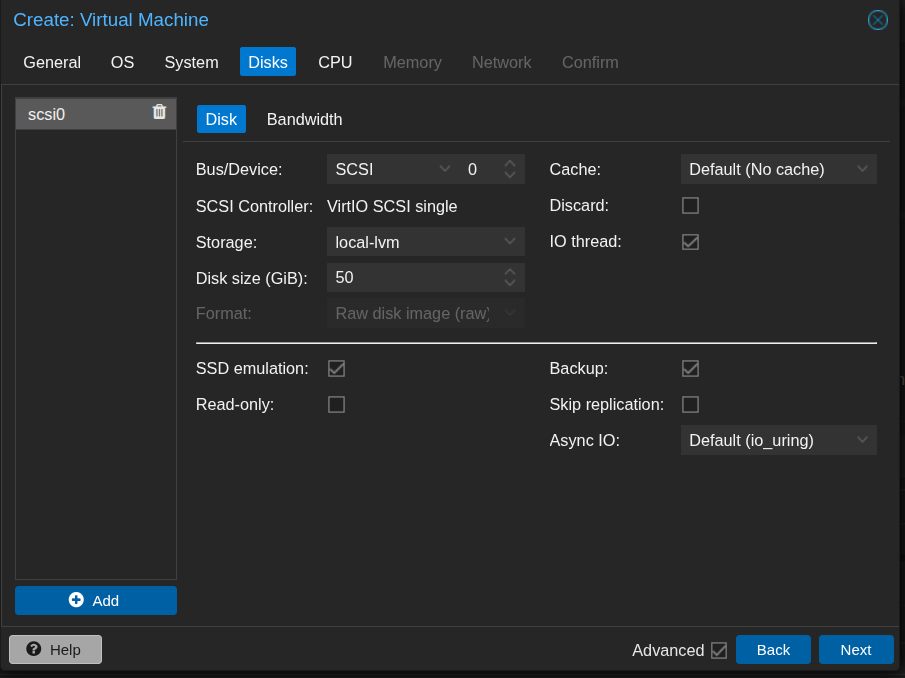
- Add a disk for installation and set the size to 50 GB.
- Assign 4 CPU cores and set the CPU type to Host, as it exposes all real CPU features to the VM, ensuring maximum performance for Wazuh.
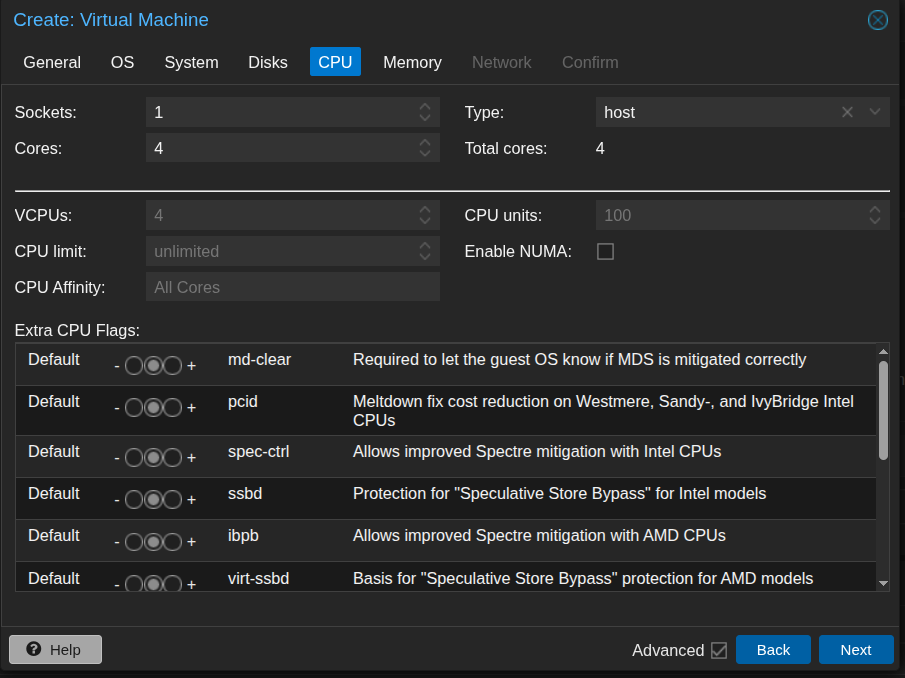
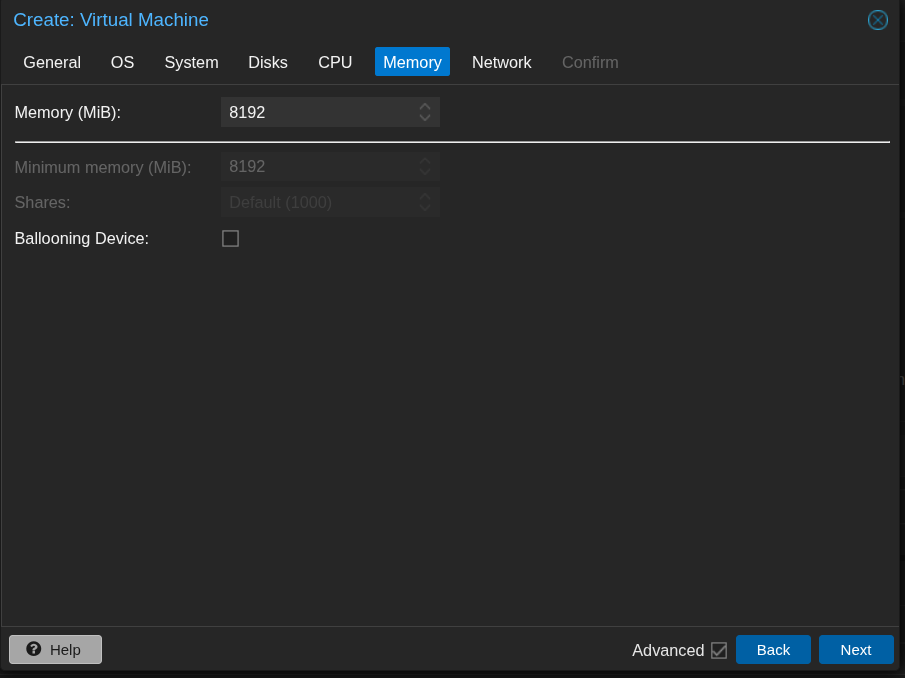
- Assign memory of 8192 MB (8 GB).
- Add a network interface using
vmbr1, which connects to the internal LAN.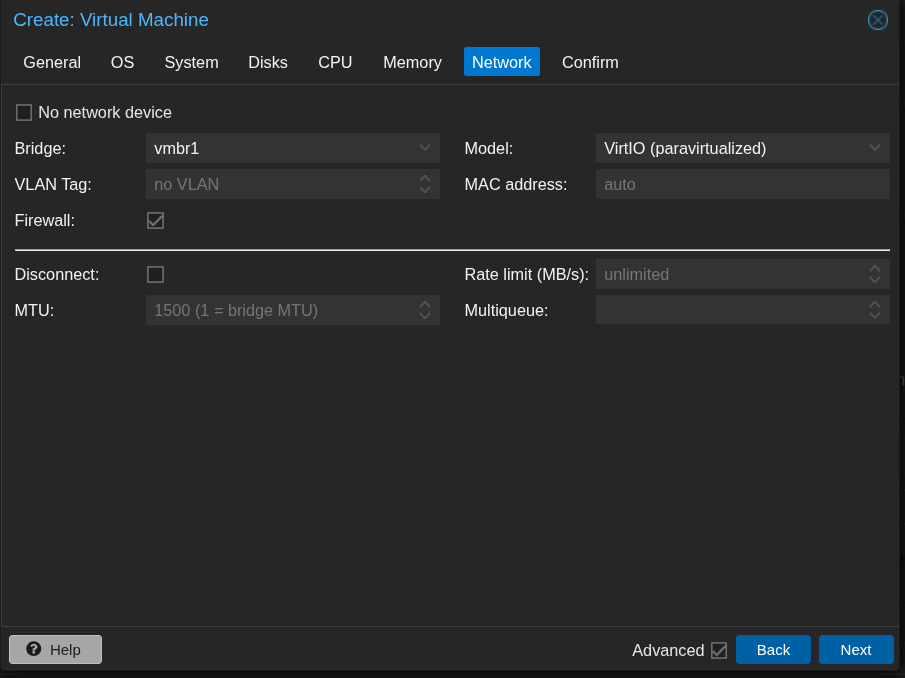
- Review and save the configurations.
Assigning a Static IP and VLAN Tag to the Wazuh Server
After creating the Wazuh server VM, we need to assign it a static IP address on the internal LAN and tag it with the appropriate VLAN for security tools and services.
- In OPNsense, navigate to Services → ISC DHCPv4 → SecTools. Enter the MAC address of the Wazuh server VM and assign a static IP
192.168.2.2. Save the configuration.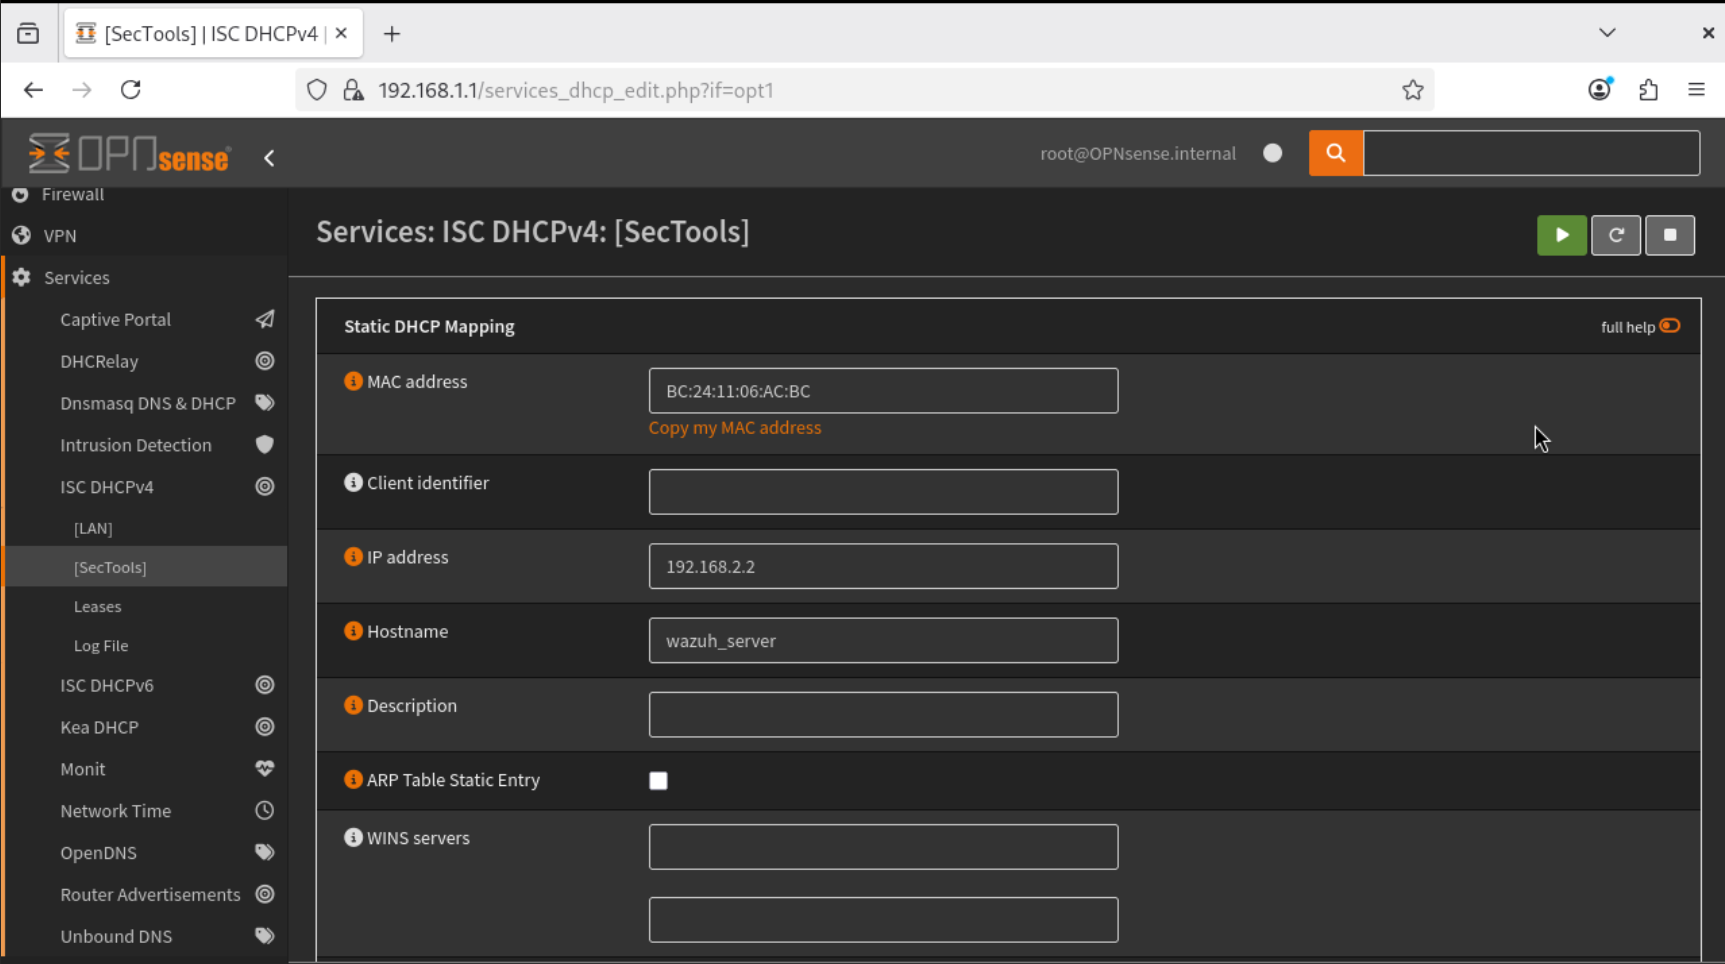

- The image below shows the DHCP static mappings for this interface.

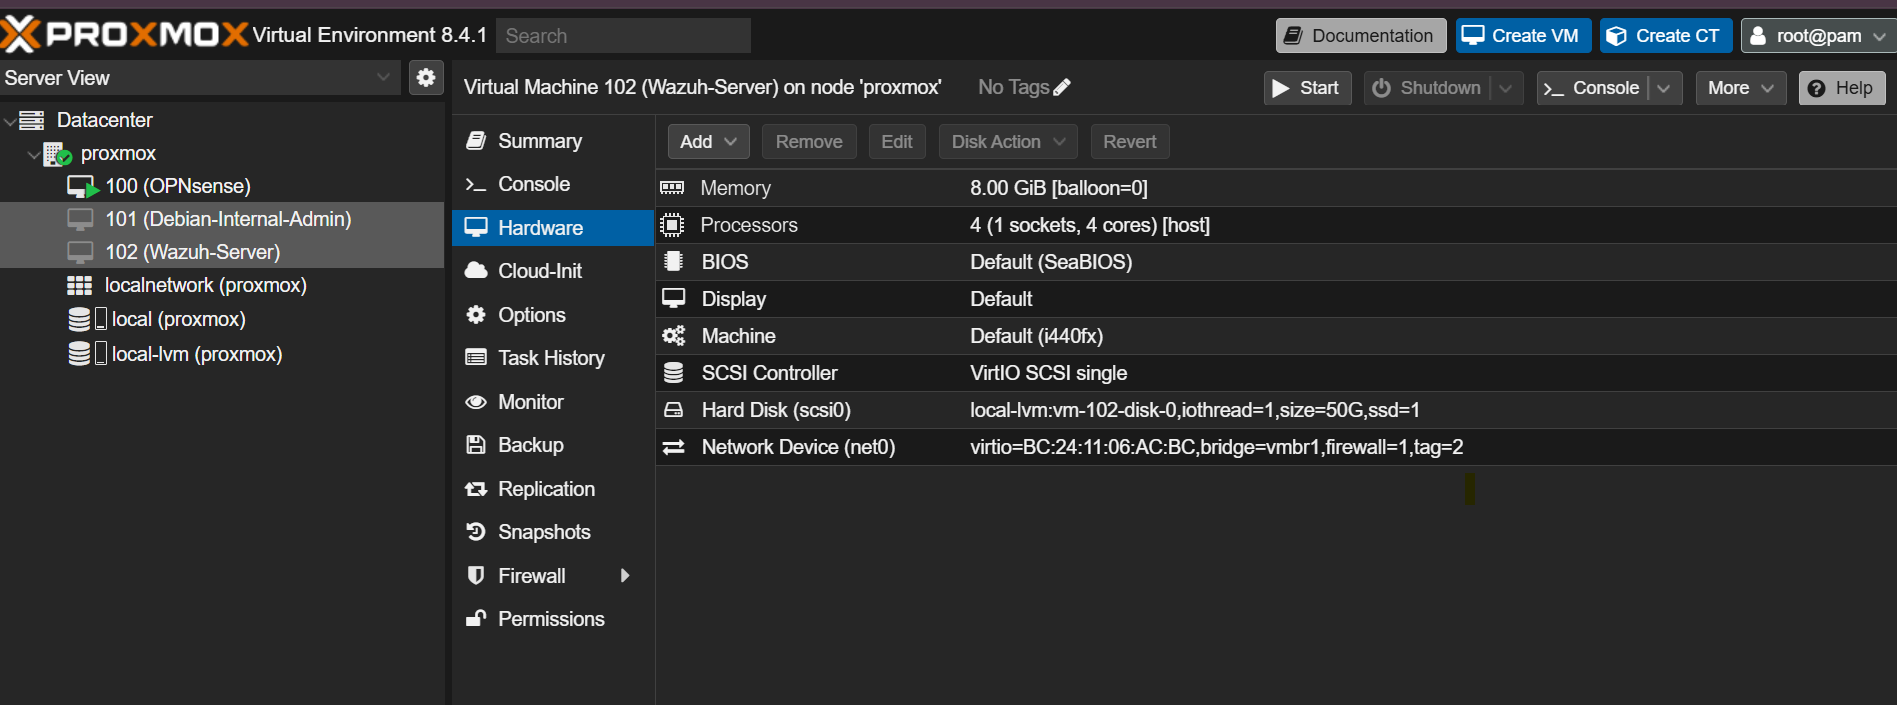
- Return to Proxmox, open the VM’s Hardware settings, select the network interface connected to
vmbr1(LAN), and set the VLAN tag to2.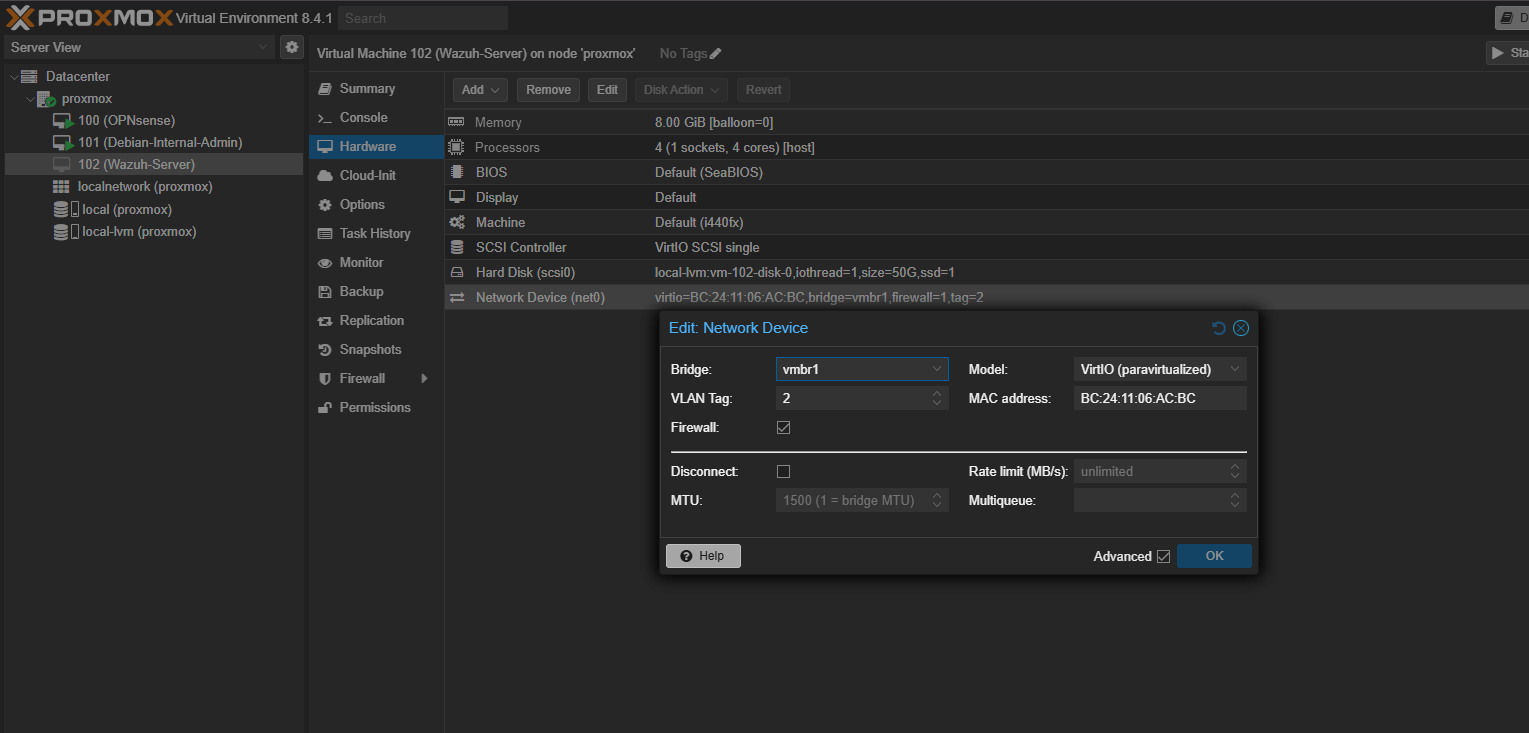
- Reboot the Wazuh server VM. After it restarts, open the console and run
ip ato verify that the static IP has been correctly assigned.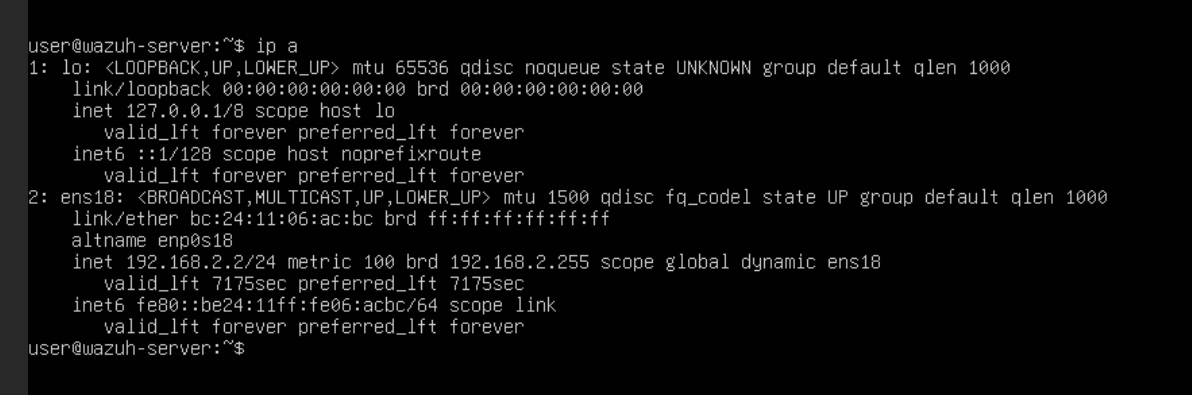
- Open the Wazuh server console and run the installation command using
curlas provided in the Wazuh Quick Start guide.
- Once the installation is complete, note the details provided for accessing the Wazuh web interface.

Conclusion
In this chapter, we successfully deployed the Wazuh server on Ubuntu Server within Proxmox, assigned it a static IP on the internal LAN, and configured the appropriate VLAN for security tools.
Up Next
In the next chapter, we will enable access to the Wazuh web interface (GUI) from the WAN, i.e. our home network.