Chapter 8 - Enabling Wazuh GUI Access from the WAN
Enabling and verifying Wazuh Dashboard access from the WAN.

Introduction
Now that the Wazuh server is deployed, the first step is to verify that the Wazuh Dashboard can be accessed from the Debian internal admin VM. Once this internal access is confirmed, we will configure the network so the Wazuh Dashboard can also be reached directly from our local machine. This improves convenience, avoids multiple VM hops, and reduces the load on the Debian VM when Wazuh is performing heavier monitoring tasks.
Prerequisites
Verifying Wazuh Access from the Internal Debian Admin VM
- Log in to the Debian internal admin VM.
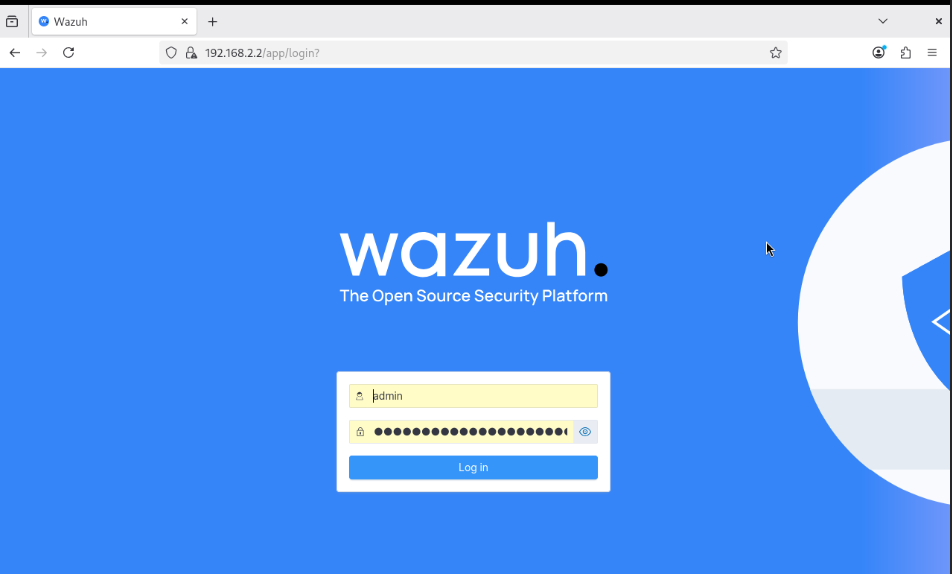
- Open a browser and access the Wazuh Dashboard using:
https://192.168.2.2:443 - Enter the login credentials provided after the Wazuh installation.

- Once logged in, you should see the Wazuh Dashboard loading successfully.
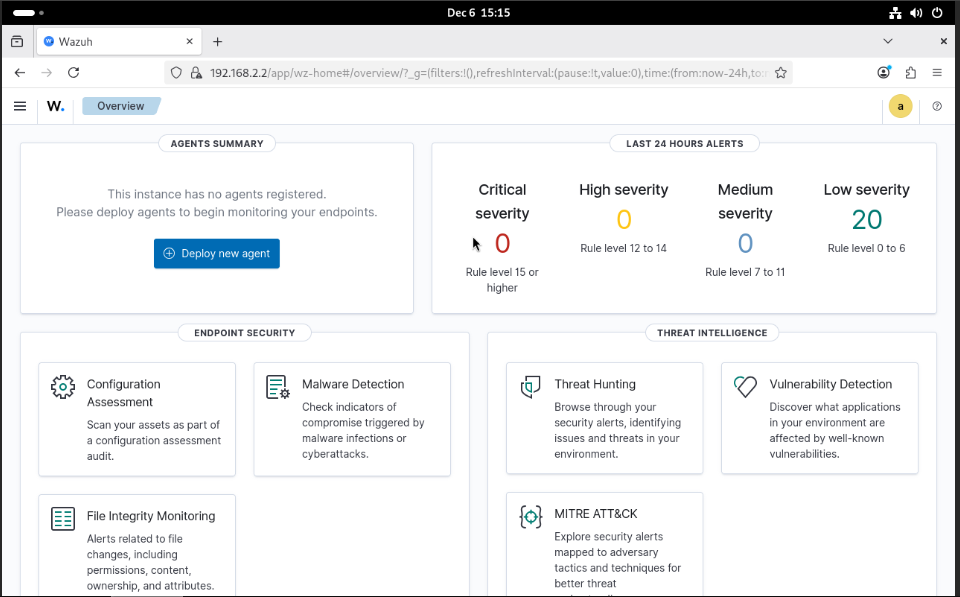 This confirms that Wazuh is running properly and reachable inside the internal network.
Why We Need Local Access to Wazuh ?
Accessing Wazuh through multiple layers: Proxmox → Debian VM → Wazuh is slow and inefficient.
Direct access from the local machine:
- Makes monitoring easier and faster
- Reduces overhead on the Debian admin VM
- Allows Wazuh to be used like a real enterprise monitoring dashboard
- Simplifies the workflow for daily operations
To enable this, we need routing + firewall rules on OPNsense.
Adding a Route on the Local Machine
In our setup, all internal networks sit behind OPNsense.
Your devices must know how to reach the SecTools VLAN (192.168.2.0/24), which is where the Wazuh server is located.
Network Flow
Laptop → OPNsense WAN → SecTools VLAN → Wazuh
Why a Route Is Needed
Your laptop (192.168.20.x) only knows about its own network by default.
It does not automatically know how to reach 192.168.2.x, which is where Wazuh lives.
To fix this, we manually tell your laptop:
“Whenever you need to reach 192.168.2.x, send the traffic to OPNsense.”
Route Command
On Windows: route add 192.168.2.0 mask 255.255.255.0 192.168.20.102
On Linux/Mac: sudo ip route add 192.168.2.0/24 via 192.168.20.102
Where:
- 192.168.2.0/24 → Wazuh VLAN network
- 192.168.20.102 → OPNsense WAN IP
This instructs the laptop to forward Wazuh traffic through OPNsense.
Creating a WAN Firewall Rule on OPNsense
After adding the route, OPNsense needs a firewall rule that allows WAN → SecTools traffic.
Steps
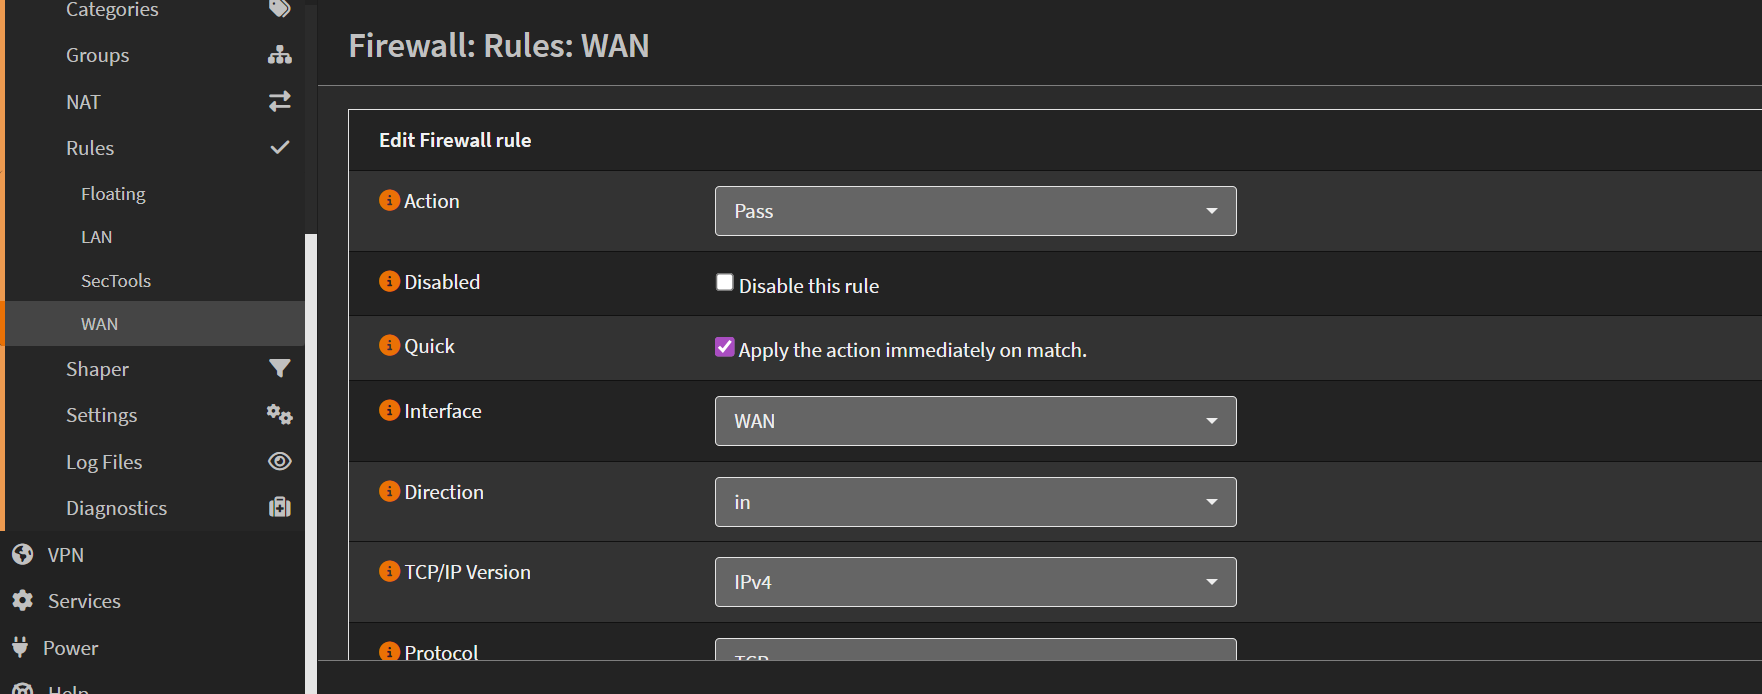
- Go to Firewall → Rules → WAN
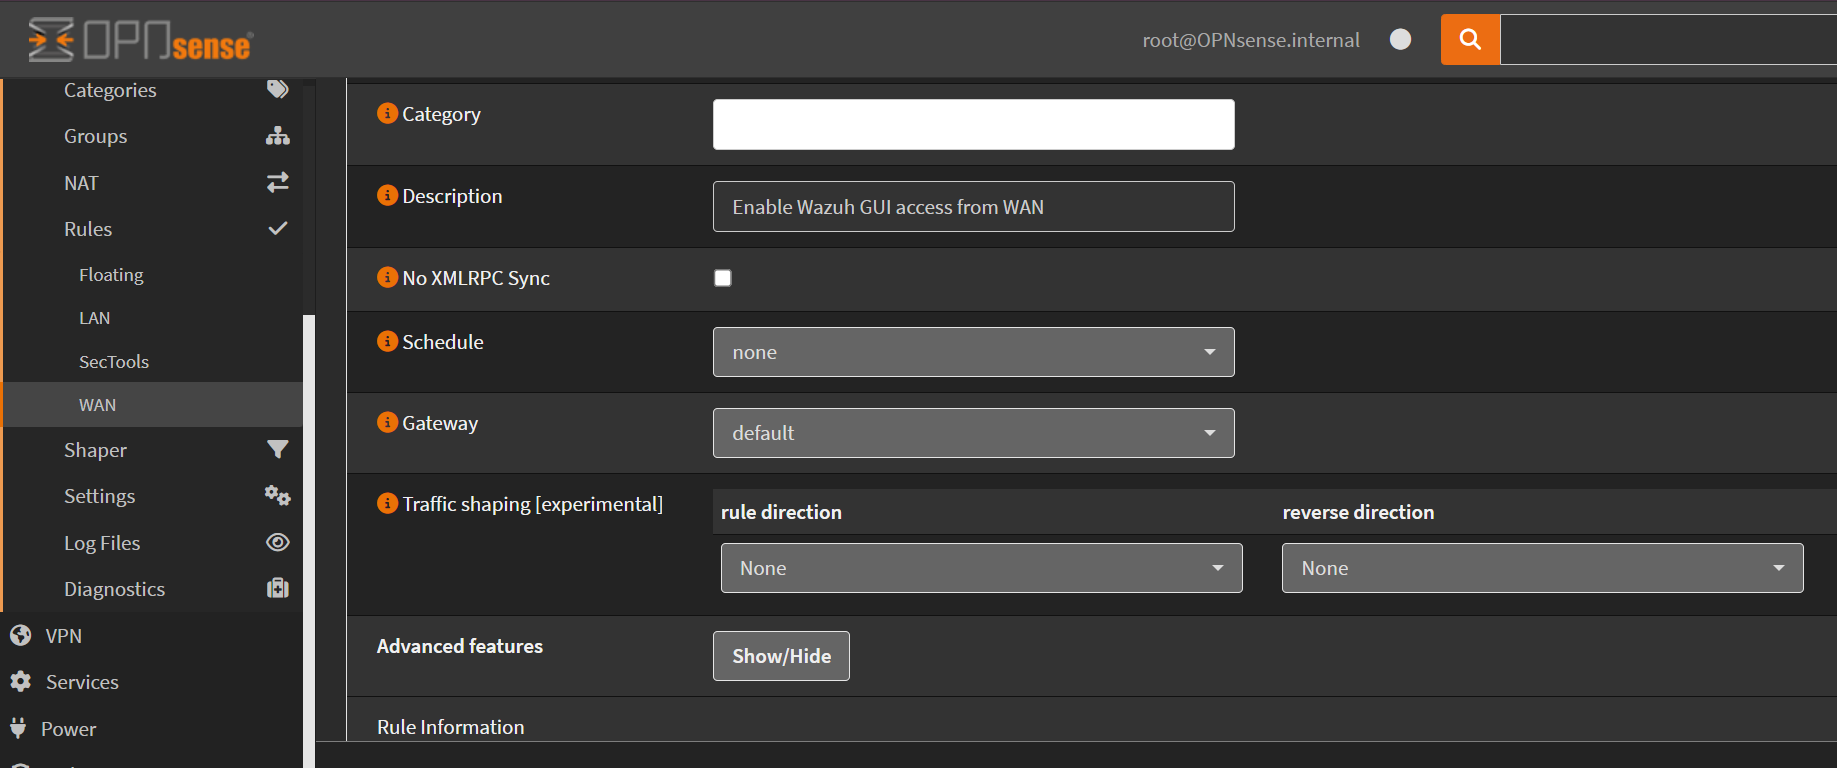
- Add a new rule:
- Action: Pass
- Interface: WAN
- Protocol: TCP
- Source: WAN net (192.168.20.0/24)
- Destination: SecTools net (192.168.2.0/24)
- Destination Port: HTTPS (443)
- Description: Enable Wazuh GUI access from WAN
- Save and apply the rule.
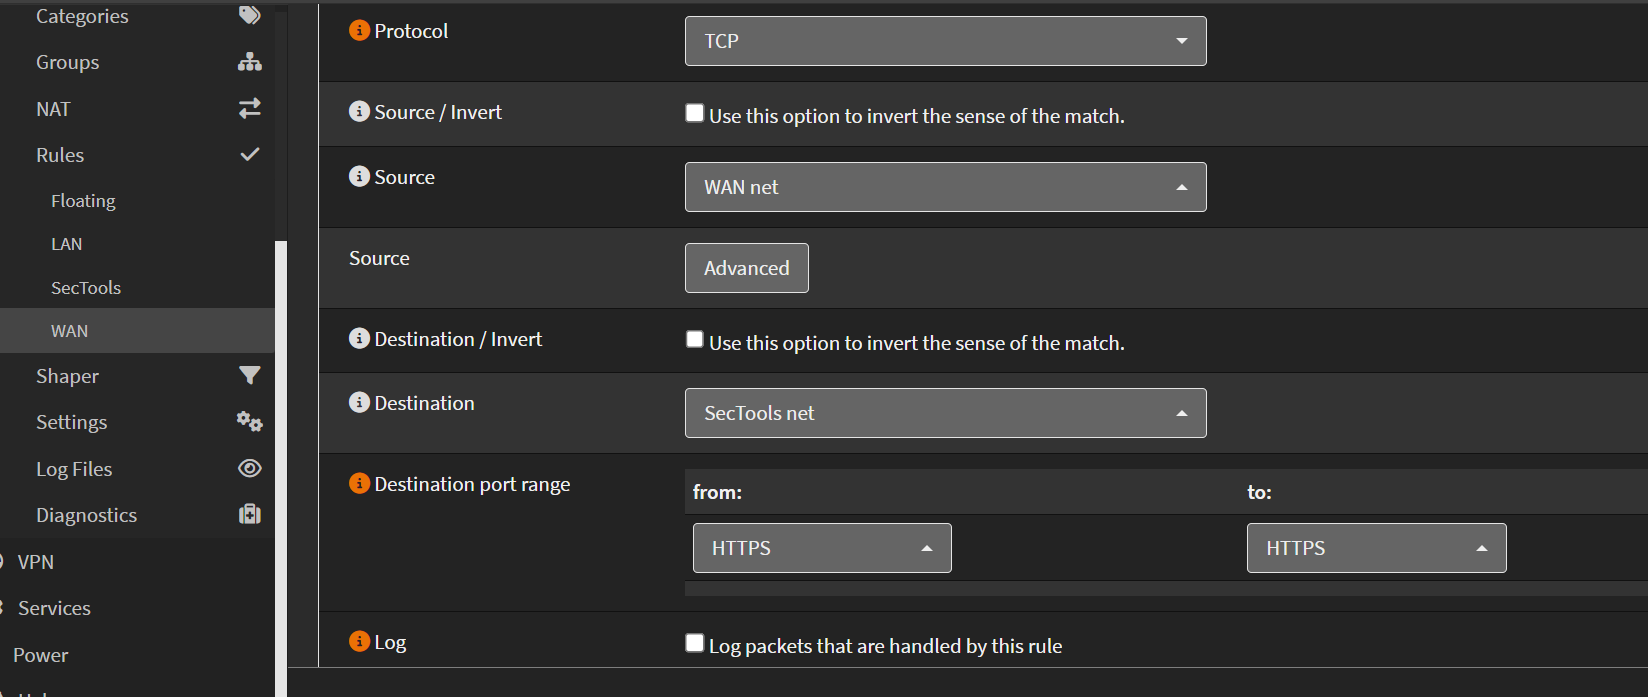
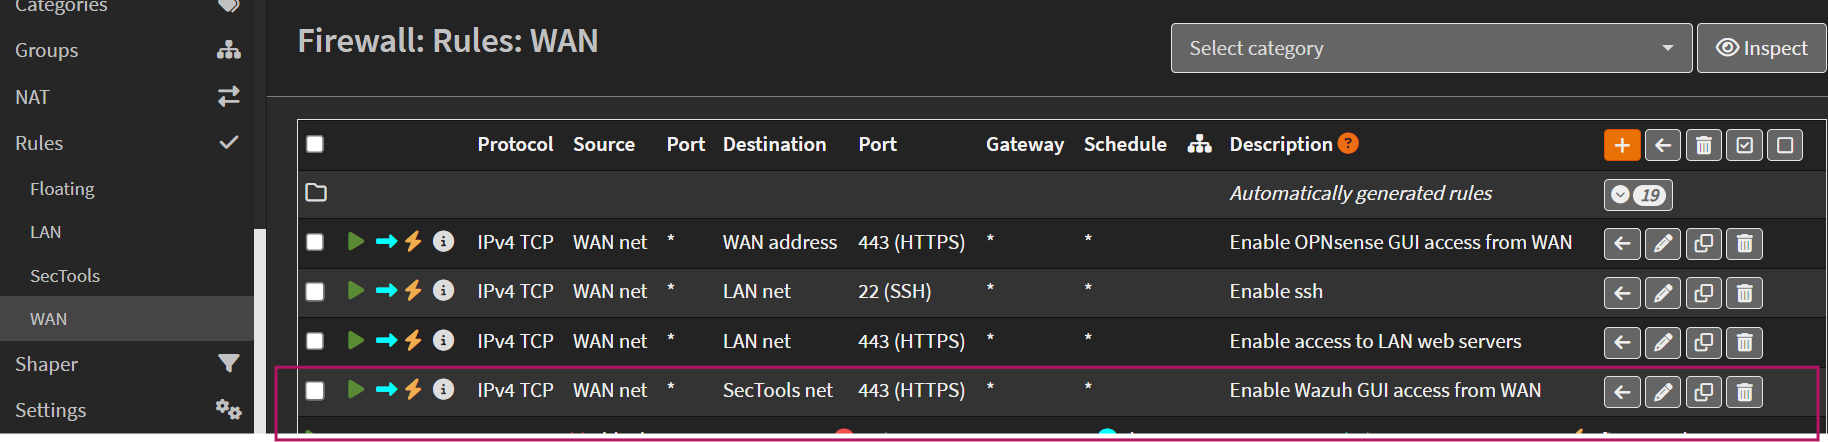
This securely allows only HTTPS traffic to flow from your laptop network to the Wazuh VLAN.
Testing WAN Access
- Open a browser on your laptop.
- Navigate to: https://192.168.2.2:443

- You should now reach the Wazuh Dashboard directly, without needing to open Proxmox or Debian.
Conclusion
In this chapter, we verified internal access to the Wazuh Dashboard and enabled secure local access by adding a route on the local machine and allowing HTTPS traffic through the OPNsense WAN interface. This setup ensures faster, more efficient access to Wazuh, improving daily monitoring and management.
Up Next
In the next chapter, we will install the Wazuh agent on internal endpoints and connect them to the Wazuh server for monitoring.