Chapter 13 - Deploying Vulnerable Web Applications: OWASP Juice Shop and DVWA
Deploying OWASP Juice Shop and DVWA as intentionally vulnerable targets in LXC containers on Proxmox.

Introduction
This chapter sets up two deliberately vulnerable web applications — OWASP Juice Shop and DVWA (Damn Vulnerable Web App) — as target machines within the homelab. These applications are intentionally insecure by design and will serve as the attack targets in future chapters, where various web application attacks will be demonstrated and defended against.
What Is OWASP Juice Shop
OWASP Juice Shop is an open-source intentionally vulnerable web application maintained by OWASP (Open Web Application Security Project). It is written in Node.js and covers a wide range of vulnerabilities from the OWASP Top 10, including SQL injection, cross-site scripting (XSS), broken authentication, and more. It is widely used for security training, CTF-style challenges, and penetration testing practice, providing a safe and legal environment to learn offensive and defensive web security techniques.
What Is DVWA
DVWA (Damn Vulnerable Web App) is a PHP/MySQL web application designed to be deliberately insecure. It covers common web vulnerabilities such as SQL injection, XSS, CSRF, file inclusion, and command injection. One of its distinguishing features is configurable difficulty levels — Low, Medium, and High — allowing practitioners to understand how the same vulnerability can be mitigated at different levels of implementation.
Why These Applications Are Being Deployed
Both OWASP Juice Shop and DVWA will serve as controlled, intentionally vulnerable targets within the homelab network. Future chapters will demonstrate attacks against these applications and document the corresponding defensive measures taken to detect and respond to those attacks. This provides a safe, legal, and isolated environment to practice hands-on offensive and defensive security without affecting any real-world systems.
Setting Up the Targets VLAN
Before deploying the vulnerable machines, a dedicated VLAN was created to isolate all target machines from the rest of the homelab network. Following the same process documented in Chapter 5, a new VLAN was configured in OPNsense with the following details:
| Field | Value |
|---|---|
| Name | Targets |
| VLAN Tag | 4 |
| Device | vlan0.4 |
| Network | 192.168.4.0/24 |
| Gateway | 192.168.4.1 |
The vulnerable/ target machines were placed on a dedicated VLAN to logically group all intentionally insecure systems within a single, organized network segment. This structured approach simplifies management, improves visibility, and keeps the lab environment neatly arranged for testing and experimentation.
Note: The Debian Target 1 VM used in previous chapters was originally on the LAN network (
192.168.1.0/24) with no static IP assigned. As part of consolidating all target machines onto the new Targets VLAN, this VM has been moved tovlan0.4and assigned the static IP192.168.4.5. References to this machine in earlier chapters should be read with this change in mind.
What Are LXCs?
LXC (Linux Containers) is a form of OS-level virtualisation that allows multiple isolated Linux environments to run on a single host. Unlike full virtual machines, LXC containers share the host kernel rather than emulating hardware, which results in significantly lower resource overhead. The same workload running in a VM typically requires more RAM and CPU than an equivalent LXC container. Containers also start up faster and allow for better density on the host. For lightweight web services like Juice Shop and DVWA, LXCs are an ideal choice — they provide the necessary isolation without the cost of running a full VM for each application.
Deploying an LXC on Proxmox
In the Proxmox web console, select
local (proxmox)storage from the left-hand panel. Click on CT Templates, then click the Templates button to browse available container templates.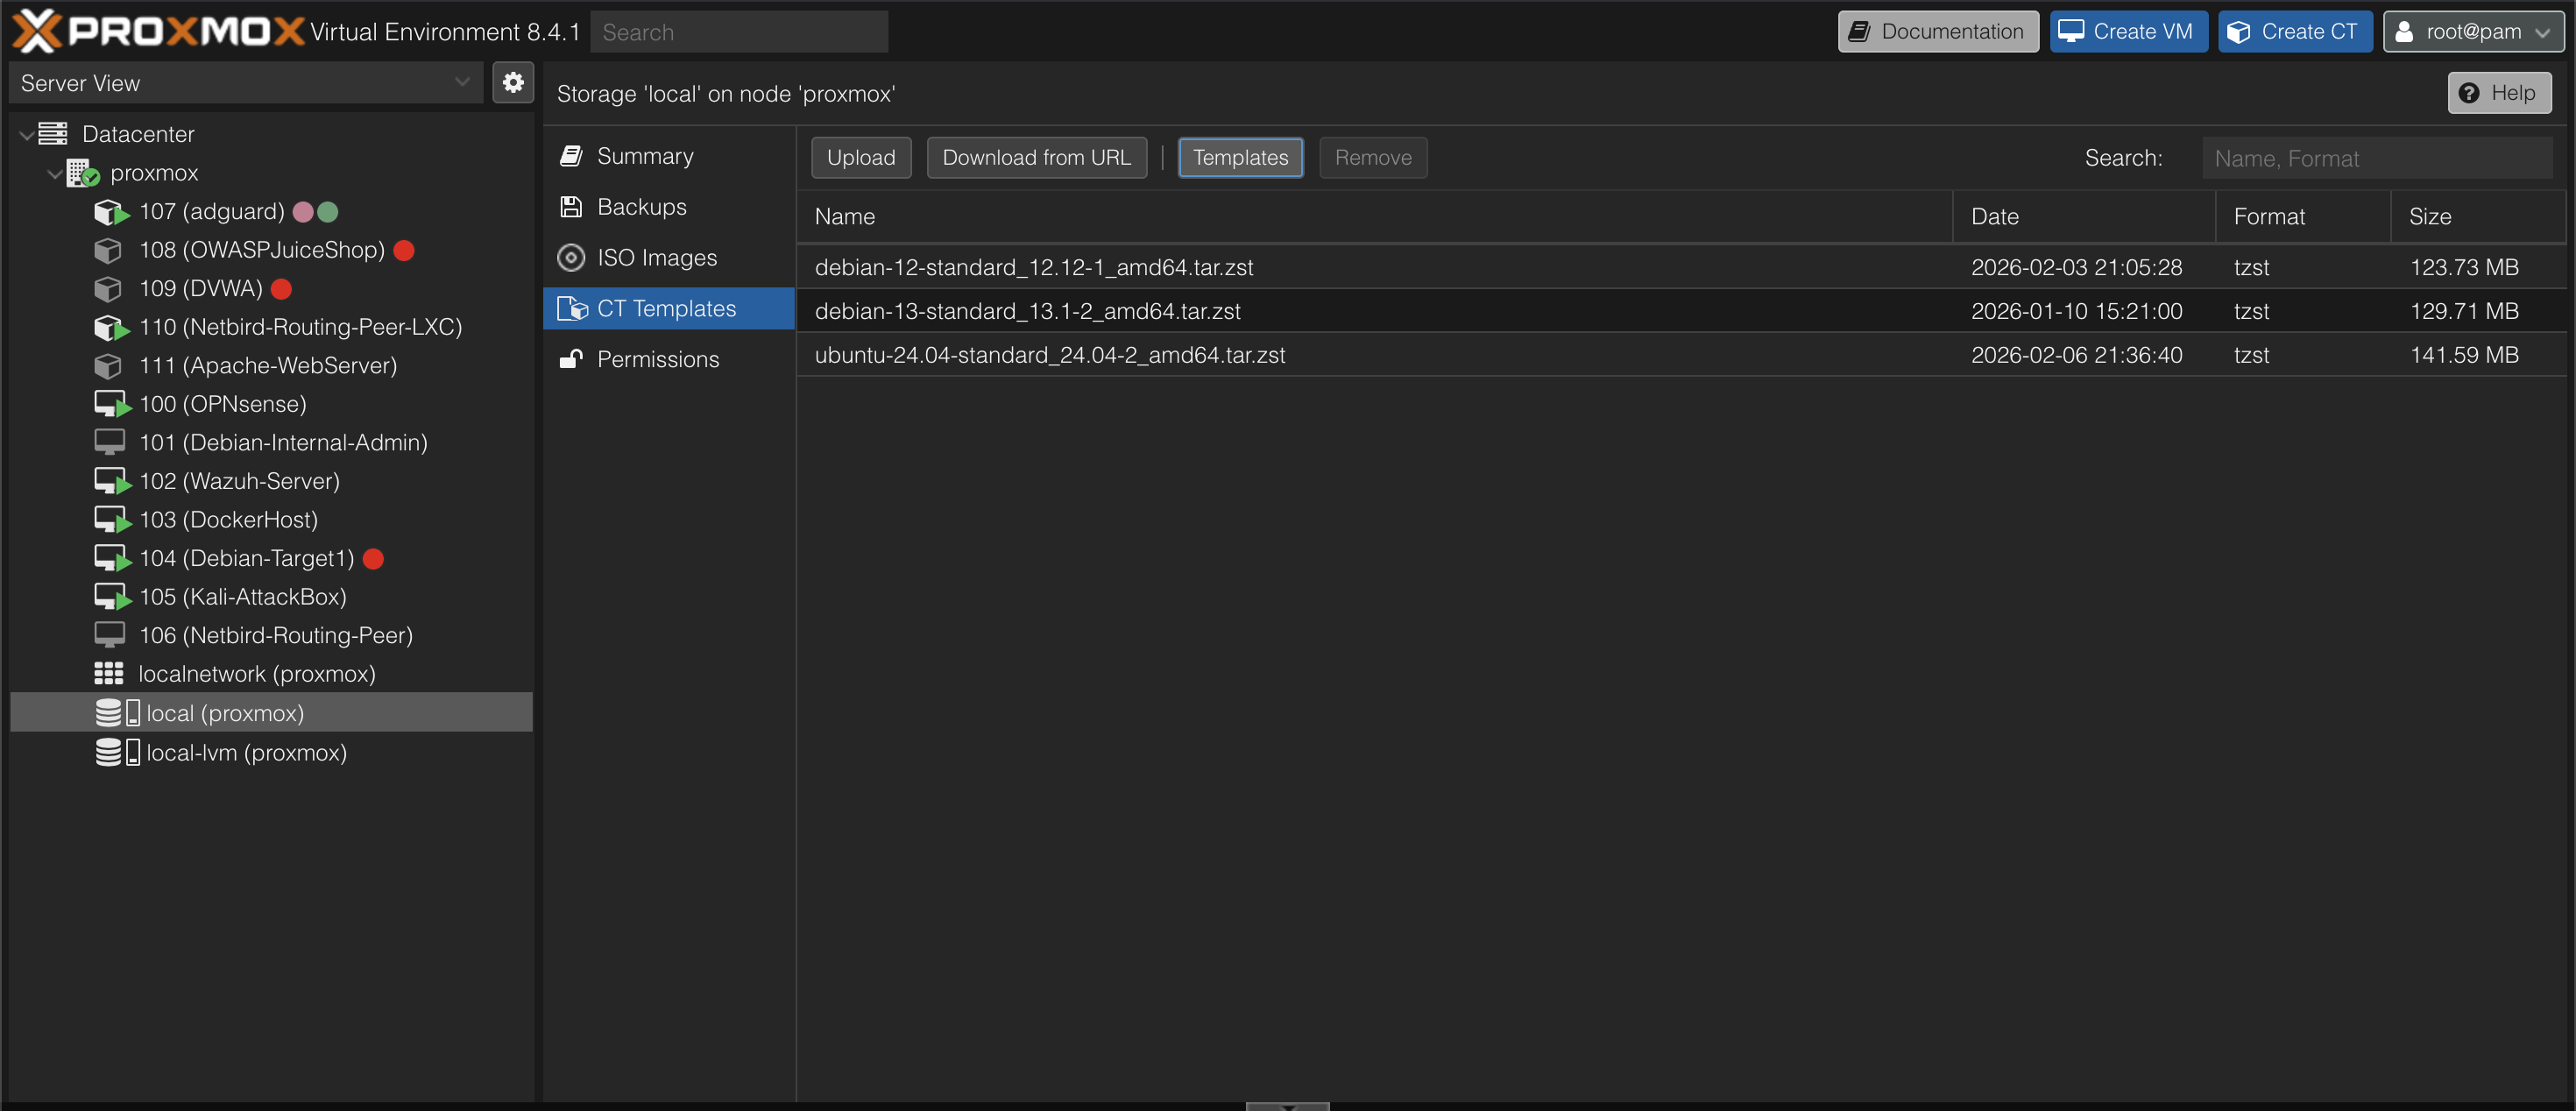
From the list of available templates, select debian-12-standard and click Download to pull the template to local storage.

Click the Create CT button in the top-right corner. This opens a wizard similar to creating a virtual machine. Fill in the following:
- Node and Hostname
- A password for the container root user
- Ensure Unprivileged container is checked — this reduces the attack surface by ensuring that even if the container is compromised, the attacker cannot gain root on the Proxmox host
- Uncheck Nesting
- Set Storage to
localand select the Debian template that was just downloaded - Define the disk size, CPU cores, memory, and SWAP
- Configure the network settings including the bridge, VLAN tag, and IP assignment
- Click Finish to create the LXC
Deploying the OWASP Juice Shop LXC
Create an LXC using the steps above with the following specifications:
| Field | Value |
|---|---|
| Name | OWASPJuiceShop |
| Memory | 1.00 GB |
| SWAP | 512 MB |
| Cores | 1 |
| Disk | 8 GB |
| Network Bridge | vmbr1 |
| VLAN Tag | 4 |
| IP | DHCP |
Assigning a Static IP (OPNsense):
Navigate to Services → ISC DHCPv4 → [VLAN4 interface] → DHCP Static Mappings and add a new entry. The MAC address can be obtained from the Network tab of the LXC in Proxmox. Assign the IP address 192.168.4.3 to this container. 
Installing Juice Shop:
Open the console for the OWASPJuiceShop LXC in Proxmox and follow the installation steps from sources at https://github.com/juice-shop/juice-shop#from-sources.
The Node.js version used is v22.22.0. The Juice Shop directory is placed at /opt/juice-shop.
Firewall Rule (OPNsense):
To allow access to Juice Shop from the home LAN (WAN interface), add a firewall rule in OPNsense permitting traffic from the WAN to all hosts on Target VLAN, i.e vlan0.4 on all ports across all protocols. 
Once the rule is in place, Juice Shop is accessible from the home LAN by navigating to http://192.168.4.3:3000 in a browser. 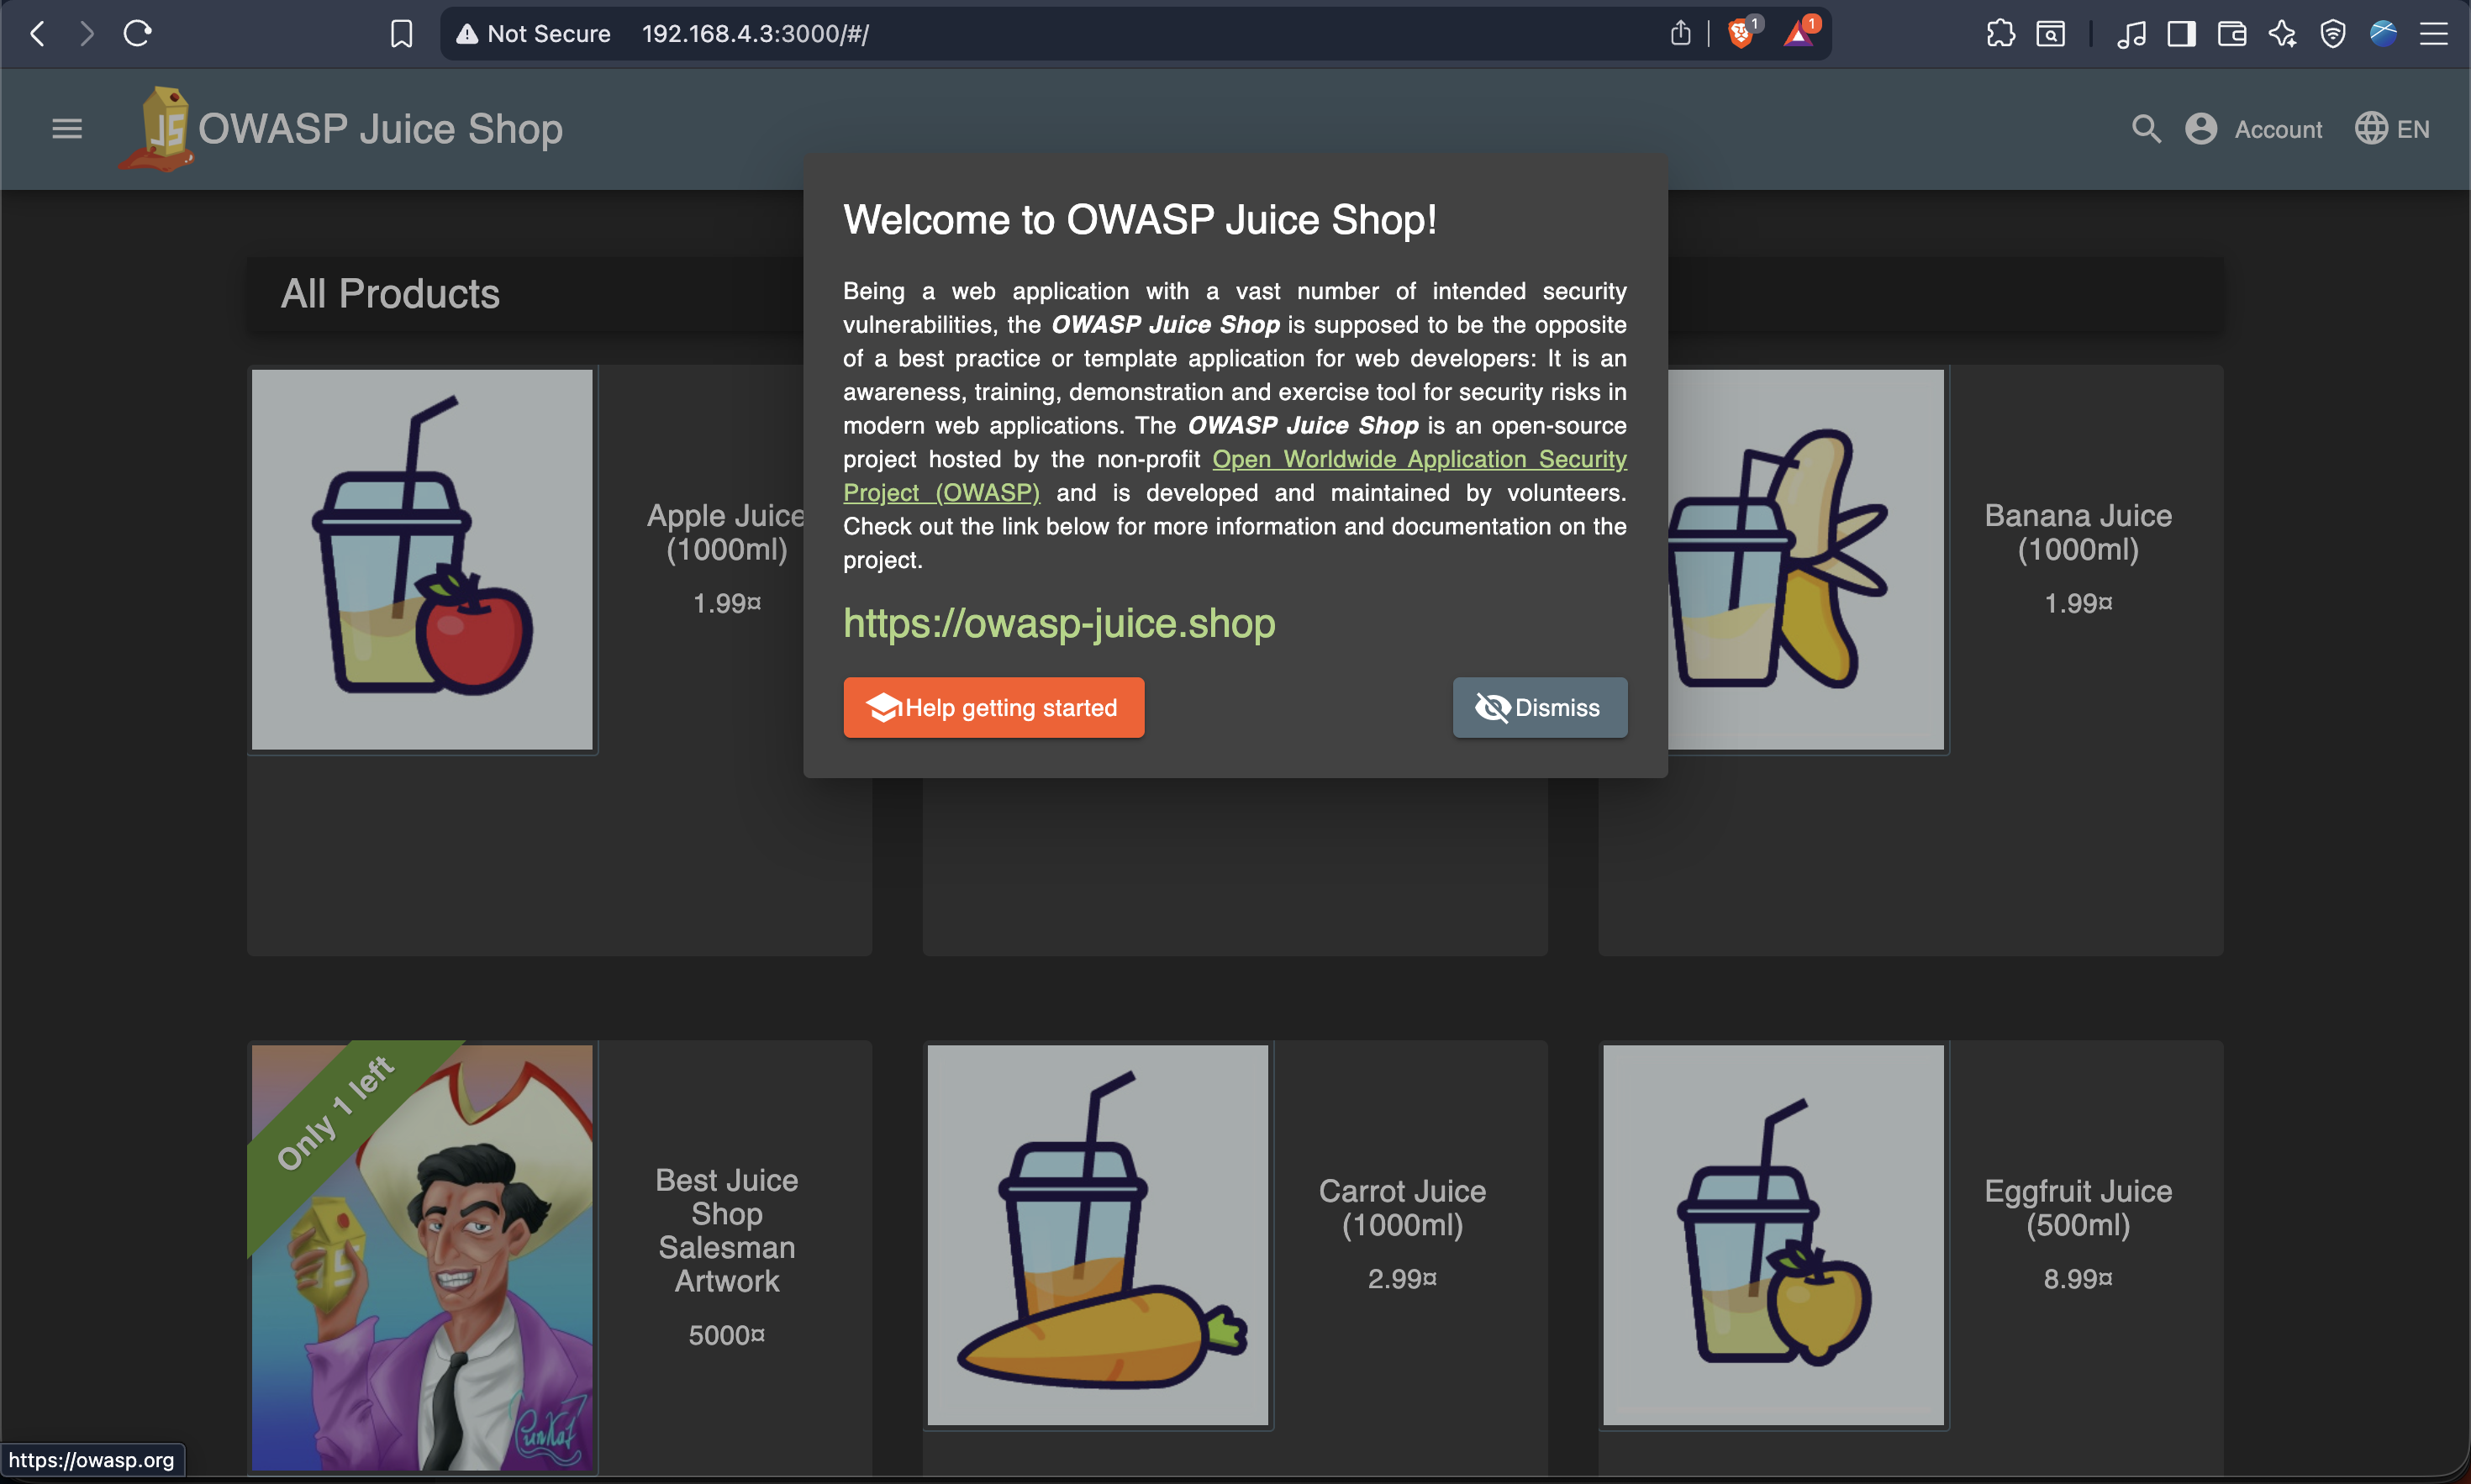
Configuring Auto-start with Systemd:
To ensure Juice Shop starts automatically on boot, create a systemd service file at /etc/systemd/system/juice-shop.service with the following contents:
1
2
3
4
5
6
7
8
9
10
11
12
[Unit]
Description=OWASP Juice Shop
After=network.target

[Service]
Type=simple
WorkingDirectory=/opt/juice-shop
ExecStart=/usr/bin/npm start
Restart=always

[Install]
WantedBy=multi-user.target
Note that WorkingDirectory should point to the directory where the juice-shop source has been placed.
Then run the following commands to enable and start the service:
1
2
3
sudo systemctl daemon-reload
sudo systemctl enable juice-shop
sudo systemctl start juice-shop
Juice Shop will now automatically start whenever the LXC boots.
Deploying the DVWA LXC
Create a second LXC using the same process with the following specifications:
| Field | Value |
|---|---|
| Name | DVWA |
| Memory | 1.00 GB |
| SWAP | 512 MB |
| Cores | 1 |
| Disk | 8 GB |
| Network Bridge | vmbr1 |
| VLAN Tag | 4 |
| IP | DHCP |
Assigning a Static IP (OPNsense):
Follow the same process as above, navigating to Services → ISC DHCPv4 → [VLAN4 interface] → DHCP Static Mappings. Assign the IP address 192.168.4.4 based on the MAC address of the DVWA LXC. 
Installing DVWA:
Open the console for the DVWA LXC in Proxmox and follow the installation steps demonstrated in the video below:
Video guided the DVWA installation process.
Since the firewall rule added for Juice Shop already permits WAN access to the VLAN4 subnet, no additional firewall rule is needed. DVWA is accessible from the home LAN at http://192.168.4.4. 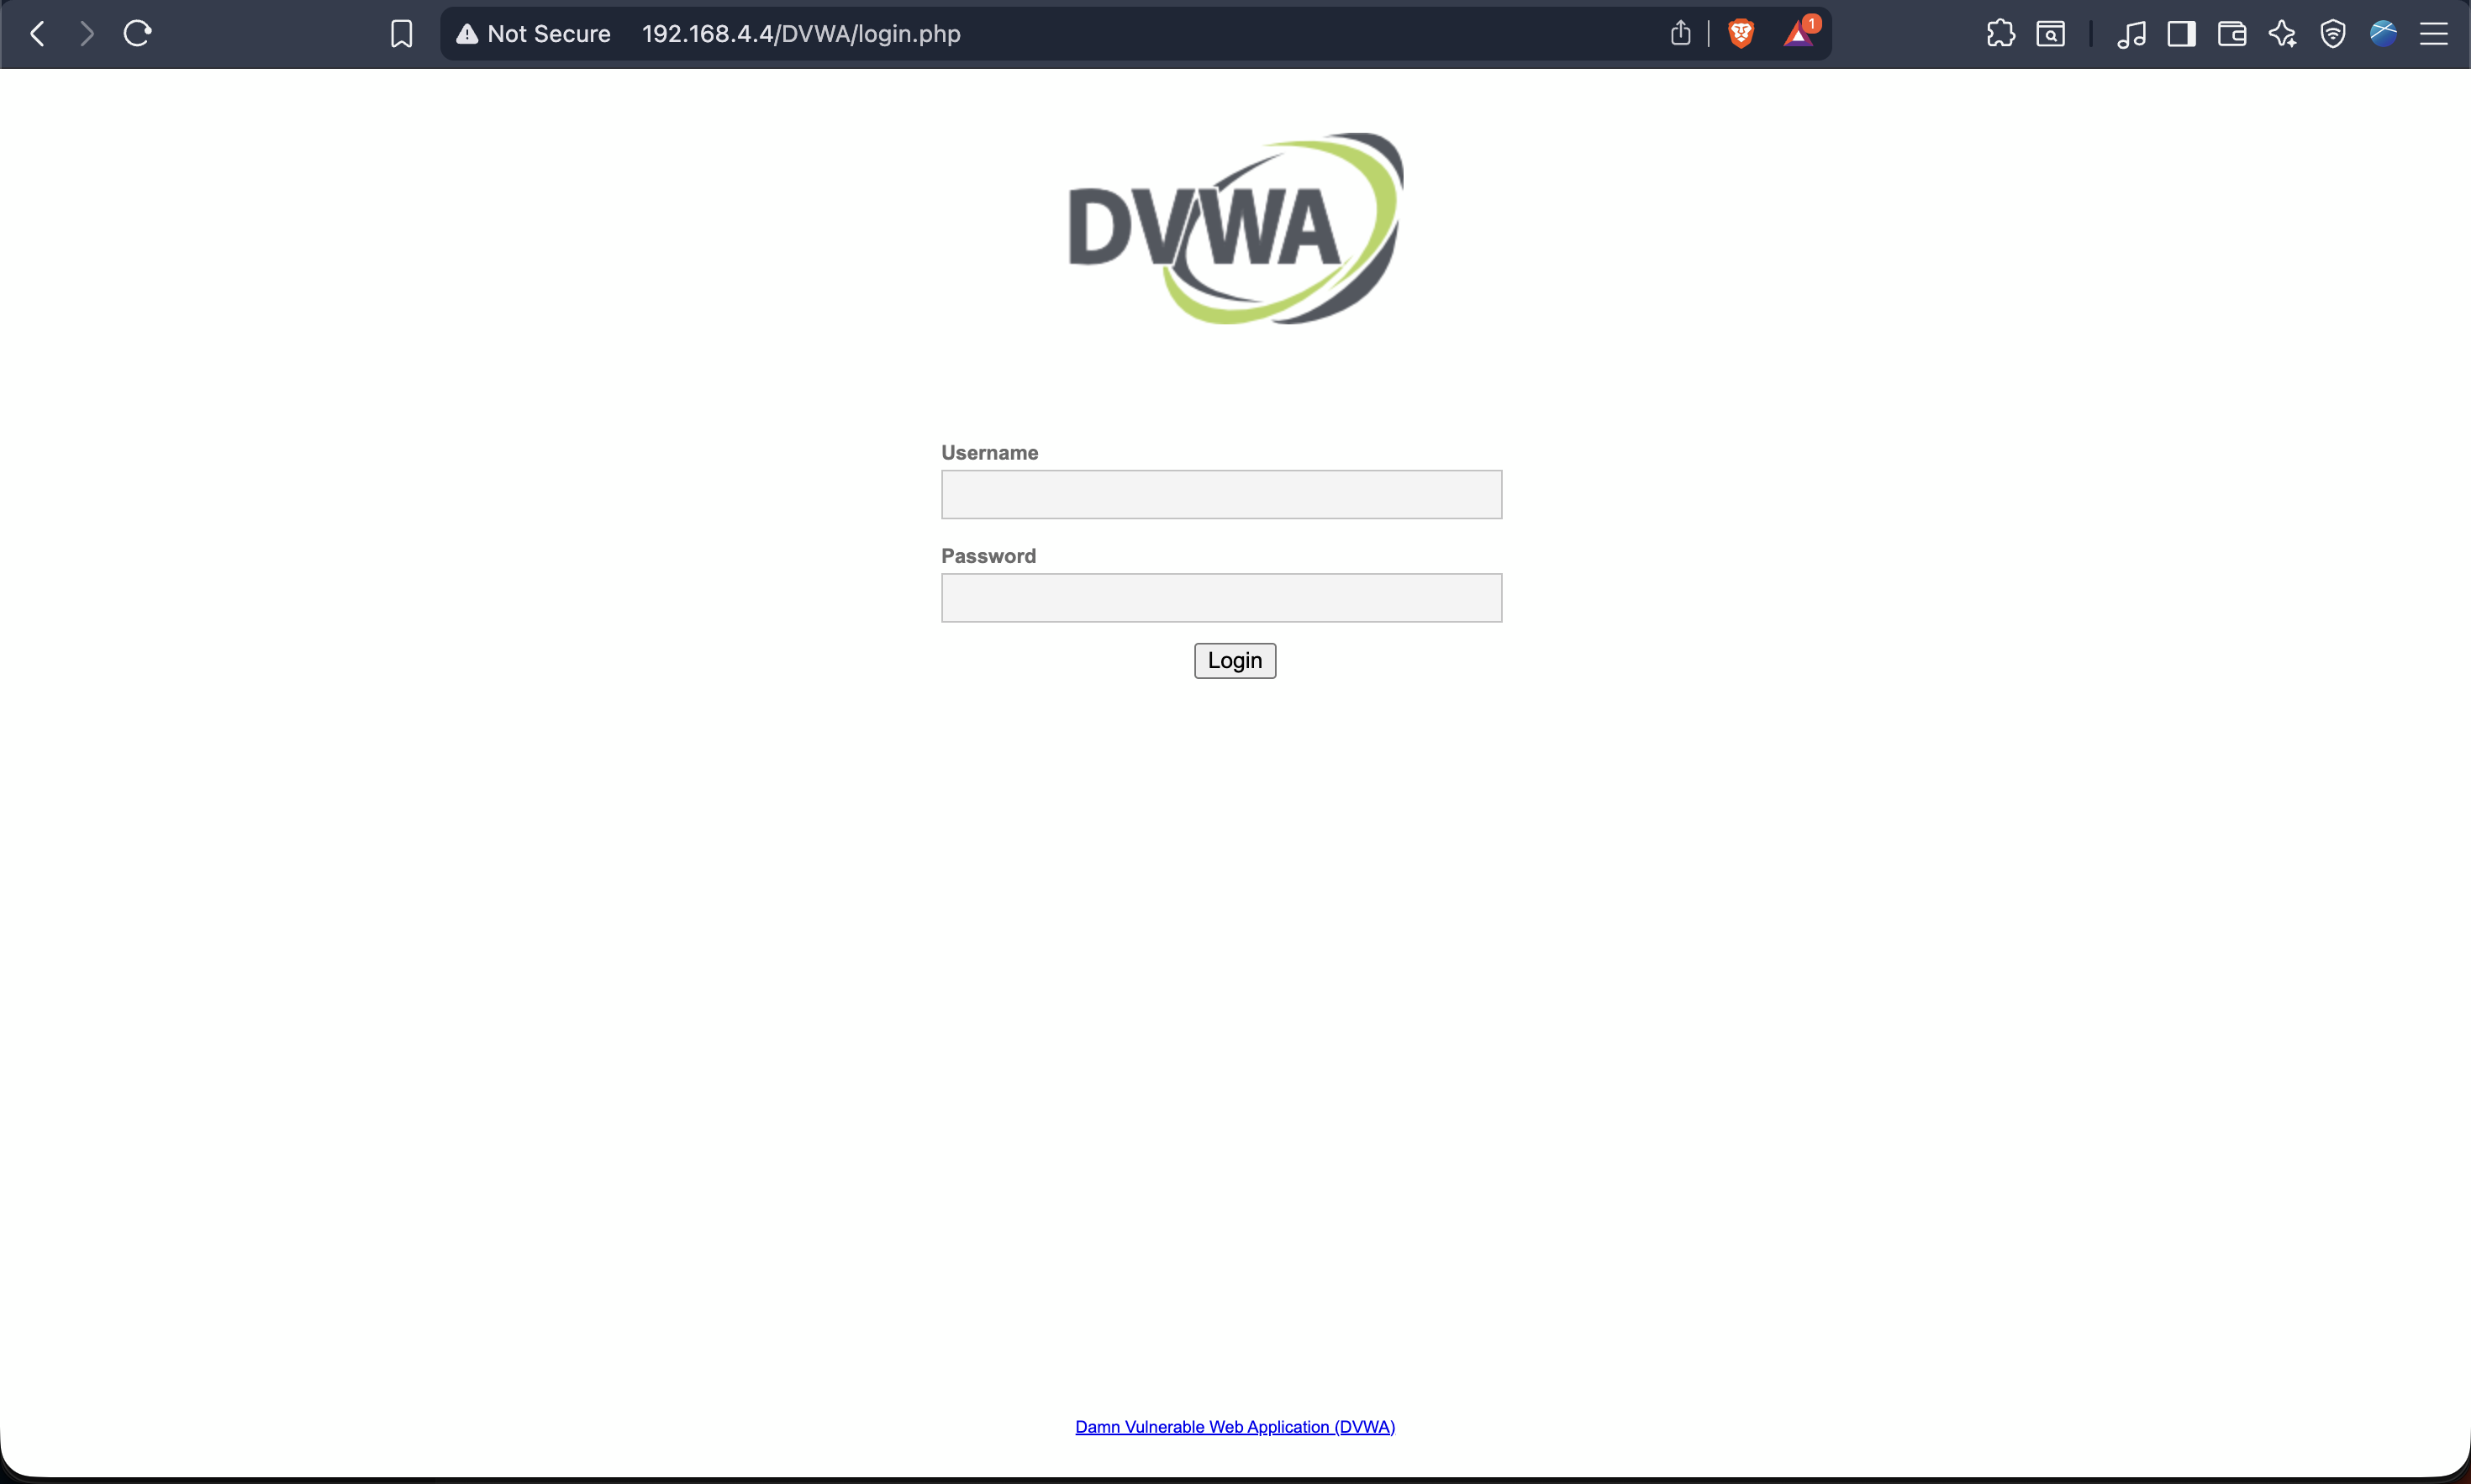
Conclusion
Both OWASP Juice Shop and DVWA are now deployed and accessible within the homelab. These intentionally vulnerable applications will serve as targets in upcoming chapters, where web application attacks will be demonstrated and defensive responses documented. With both machines running as lightweight LXC containers on Proxmox and accessible through OPNsense-controlled firewall rules, the homelab now has a controlled and isolated environment ready for offensive security practice.